Subclassing UIButton in Swift Tutorial
This tutorial shows you how to add more functionality to UIButtons by subclassing. It demonstrates the use of enumerations to make each button a different type and extensions to give the subclassed UIButton more functionality.
In this tutorial we will create a very basic interface which consists mostly of a grid of UIButton’s. However, our buttons will be subclassed and these clever little buttons will be able to initialise themselves so that they contain a random value, name and image.
You will need some image assets for this tutorial. You can use whatever you like to customise it or you can download the assets that I have created.
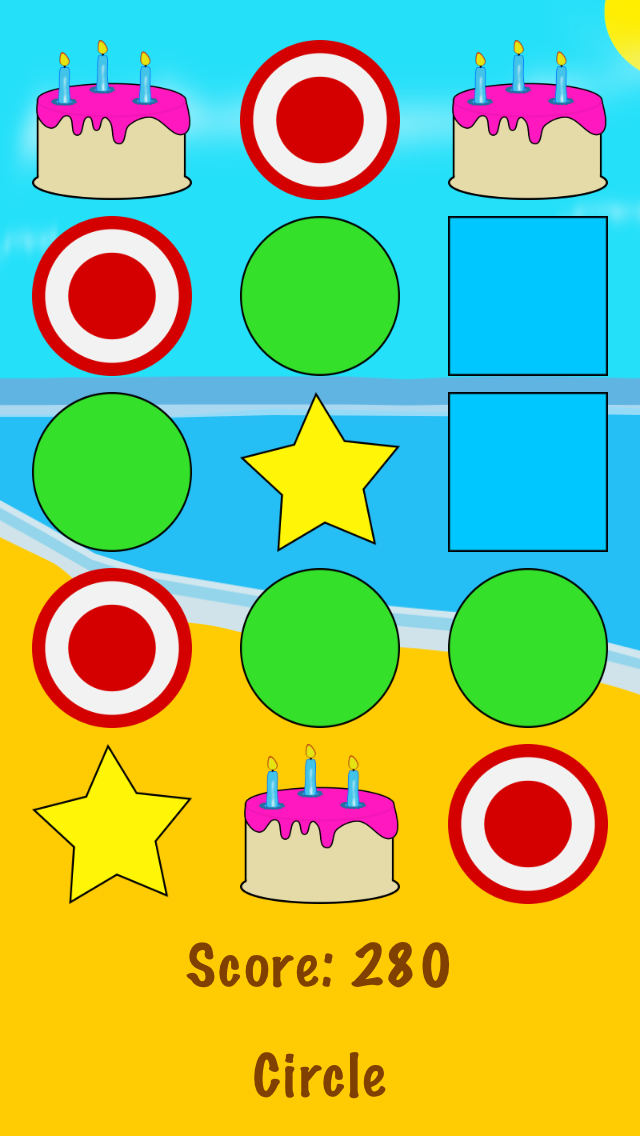
This tutorial is written in Swift and requires Xcode 6.2 or later. This is what the completed app will look like.
Let’s get started.
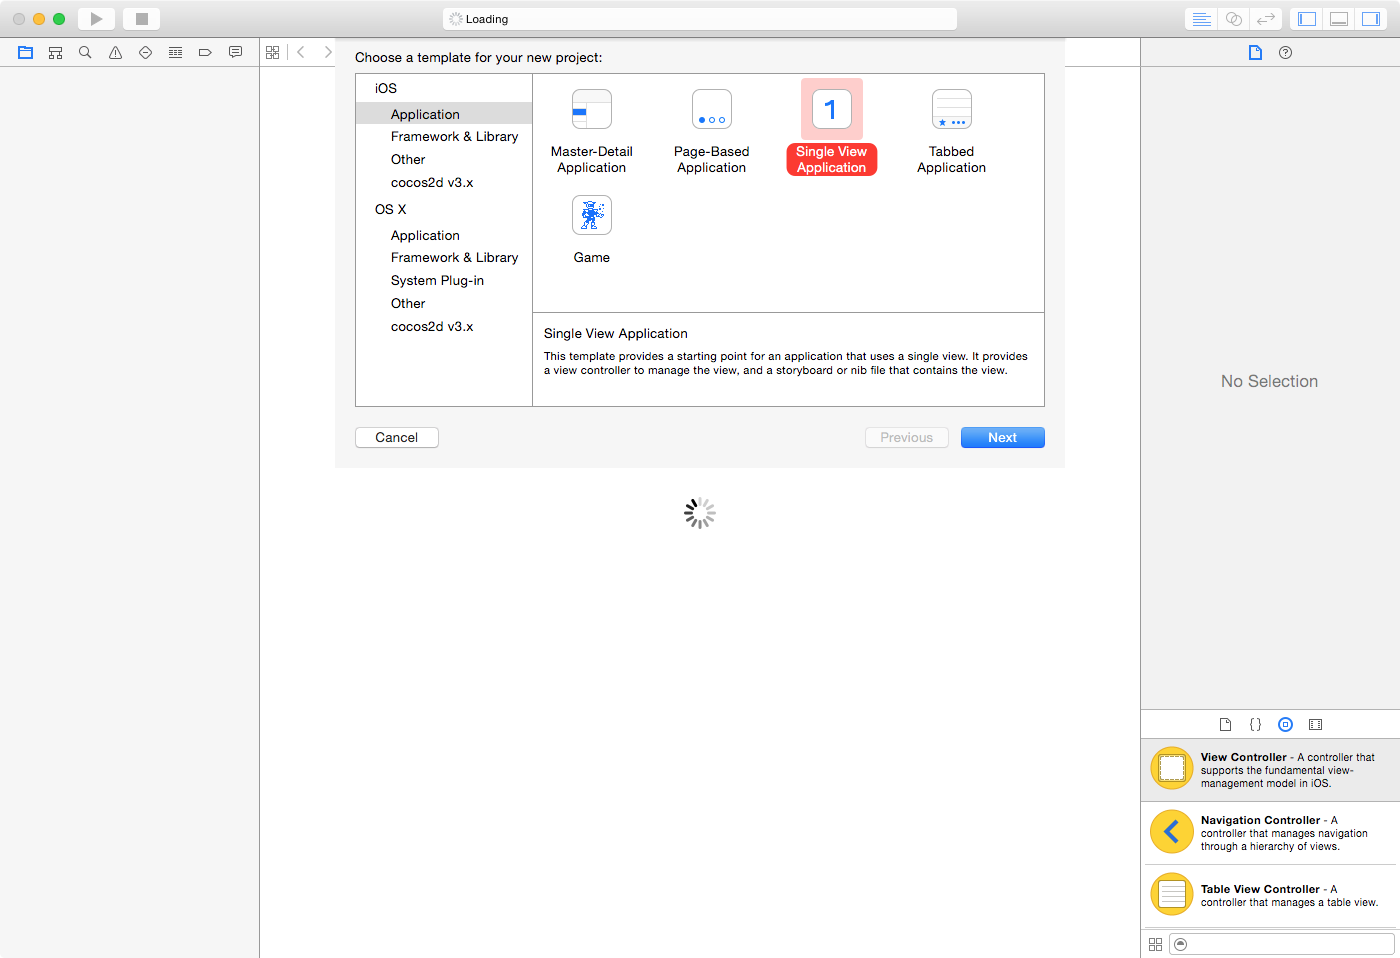
First create a new single view application.
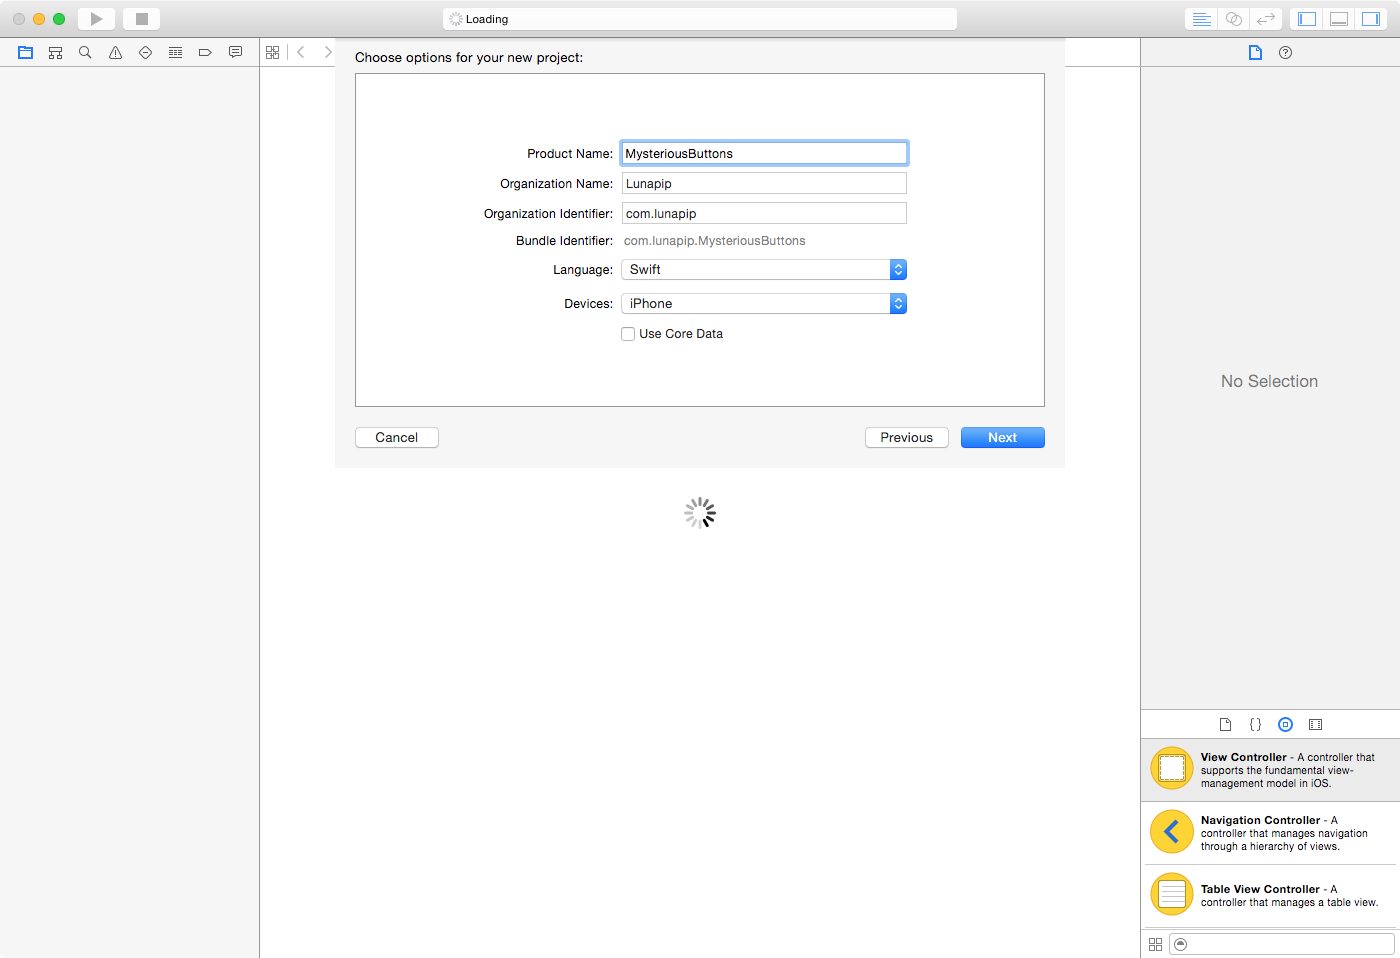
On the next screen give the application a product name. Select Swift for the language and iPhone for the device. We are going to keep the interface design to the very minimum so iPhone is good for this tutorial.
Click Next and choose a location to save your project.
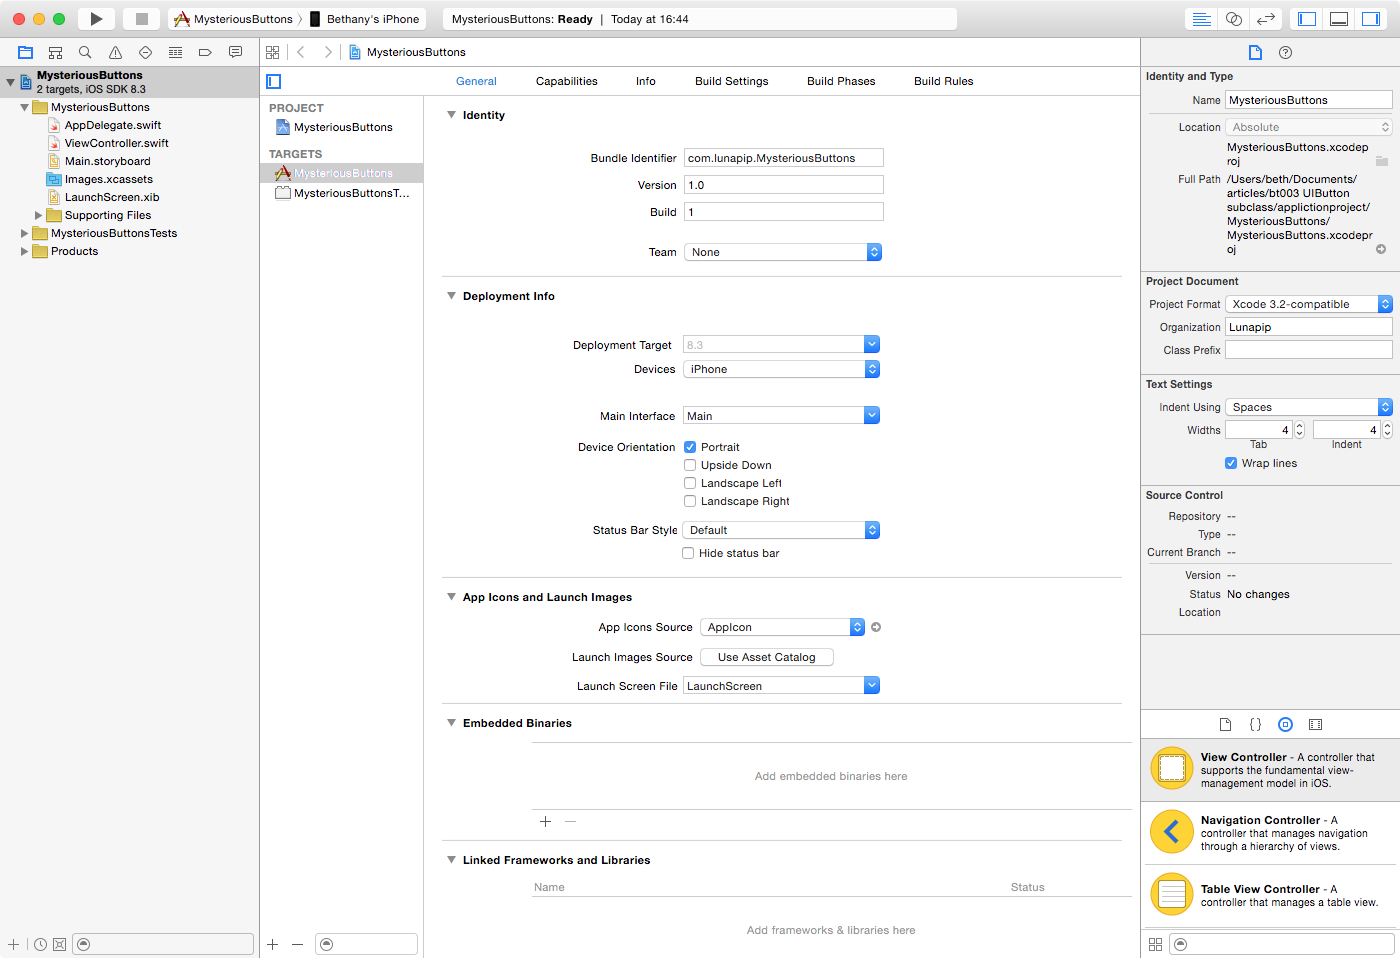
Now ensure your target is selected and uncheck the landscape options for the iPhone. This app will only run in portrait mode.
Before we go any further, let’s import our image assets.
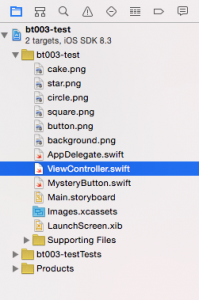
If you downloaded my assets you can drag them into the Xcode side bar to import them.
Your sidebar should now look similar to this.
Let’s write some code.
First we are going to create our UIButton subclass. Our app is going to present a grid of buttons and the user will tap each button to find out what it contains. Therefore a good name for our mystery button subclass is… MysteryButton!
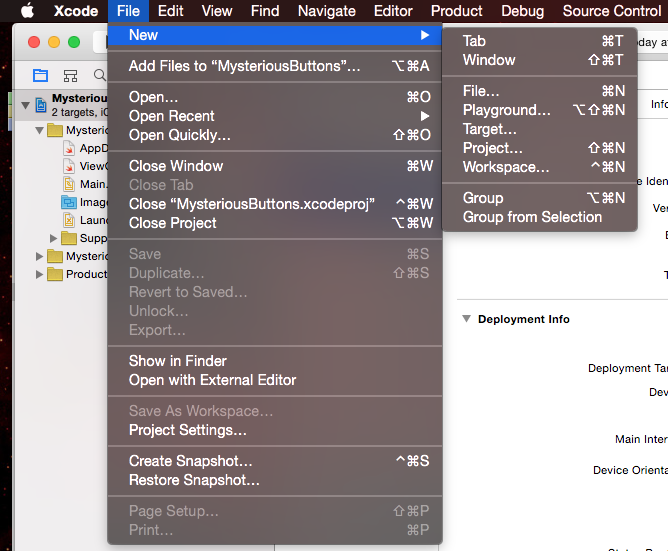
To start creating our subclass select File from the menu bar, then select New and File.
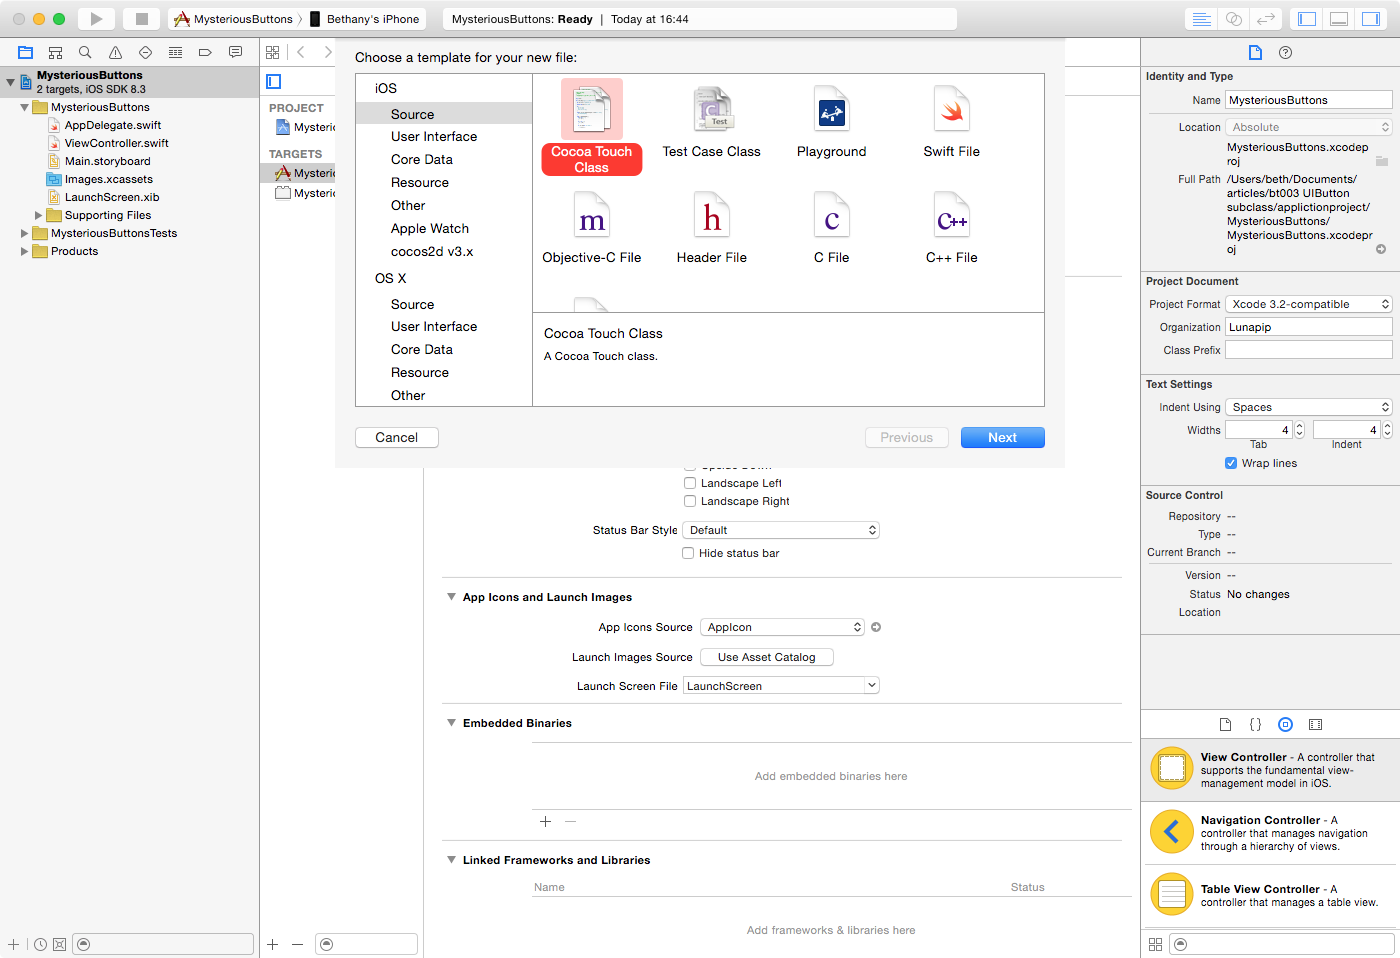
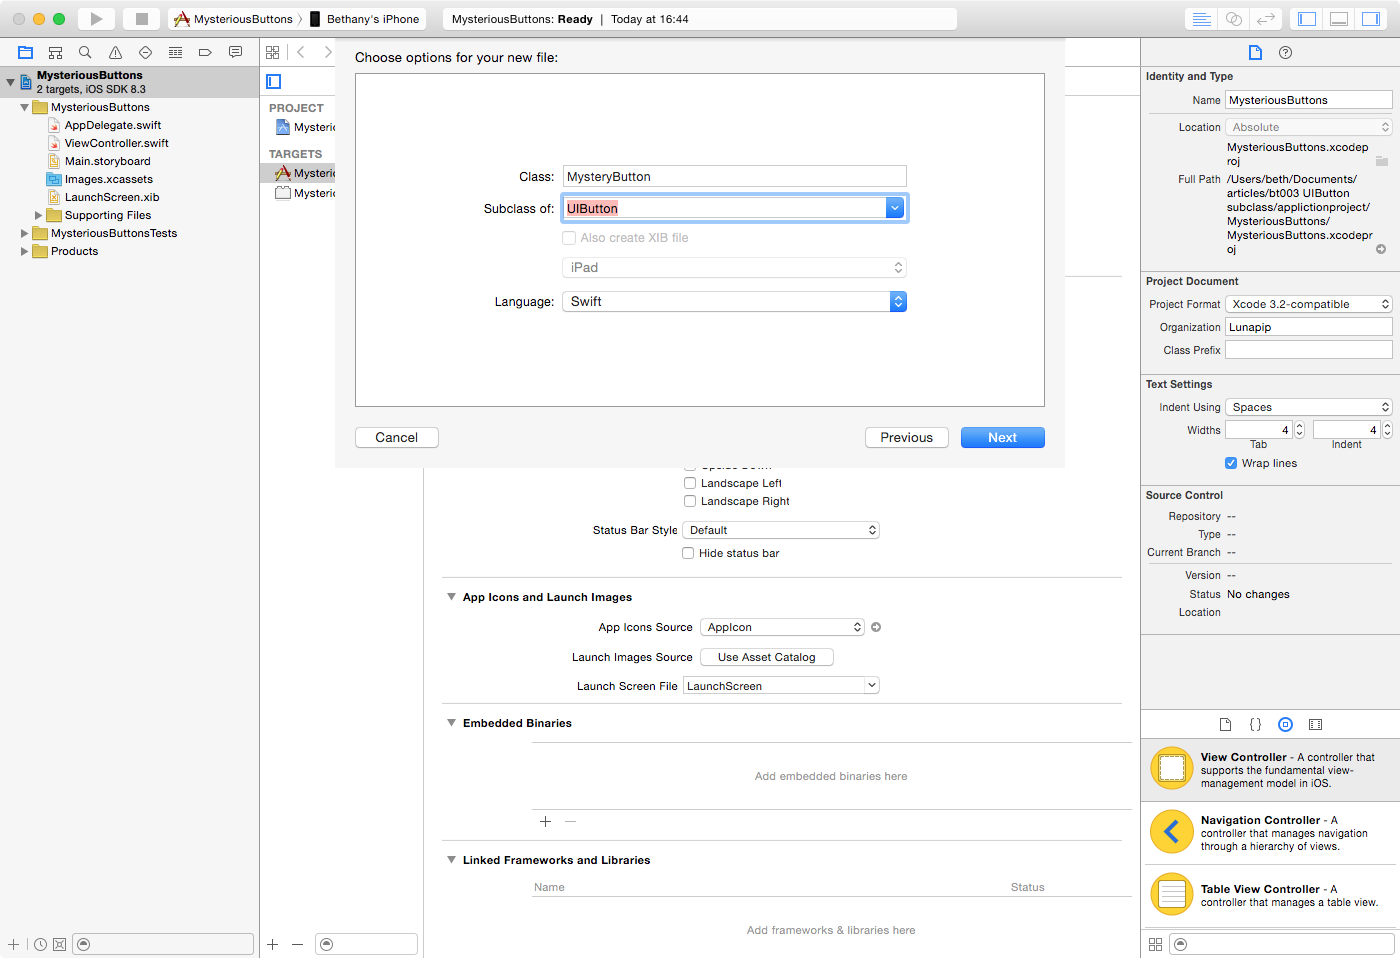
Choose Cocoa Touch Class from the panel and click Next.
Name the class MysteryButton and select UIButton as the subclass. Ensure the language is Swift. Click Next and then Create to make the new subclass.
Our MysteryButton will contain a surprise. The surprise is either a star, a circle, a square or a cake! When the user taps a button the mystery object is revealed. To specify which object the button contains we will use an enumeration value.
In addition, the mystery object which the button contains will be randomly selected each time the app is run. To select the random object we will use an extension on the enumeration which will return a random object.
Enumeration
This is the code to create the enum. Add it to the MysteryButton class before class MysteryButton: UIButton.
enum ButtonSuprise: Int {
    case Square = 0, Star, Circle, Cake

    func basicDescription() -> String {
        // This function returns a basic description of the enumeration.
        switch self {
        case .Square:
            return "Square"
        case .Star:
            return "Star"
        case .Circle:
            return "Circle"
        case .Cake:
            return "Cake"
        }
    }
}
Extension
And here is the code to create the extension. Add this below the enum and before class MysteryButton: UIButton.
extension ButtonSuprise {
    static var caseCount: Int {
        var max: Int = 0
        while let _ = self(rawValue: ++max) {}
        return max
    }

    static func randomSuprise() -> ButtonSuprise {
        let randomValue = Int(arc4random_uniform(UInt32(caseCount)))
        return self(rawValue: randomValue)!
    }
}
The enum lists the types of surprises a button can contain. The basicDescription method returns an English description of the surprise.
The randomSuprise function in the extension will select a random value from 0 to the maximum number of items in the enum. This is how we generate a random item from the enumeration. You can find out more about this code here http://natecook.com/blog/2014/10/loopy-random-enum-ideas
Now we will move to the main part of our MysteryButton subclass. This is where we can add more storage and functionality to a regular UIButton.
Each instance of MysteryButton will use several variables, so add the following into the class.
// Holds the filename of the mystery image
var imageName: String = ""

// Each image is worth varying points. This variable stores that value.
var value: Int = 0

// This bool determines if the button has been tapped. A user can't tap the same button twice.
var beenTapped: Bool = false

// This optional stores the result of our random object generation.
var suprise: ButtonSuprise? = nil
Next we need to implement the initialiser. We use the following version because the button is being loaded from a storyboard.
required init(coder aDecoder: NSCoder) {
     super.init(coder: aDecoder)

     // The resetMe function sets up the values for this button. It is
     // called here when the button first appears and is also called
     // from the main ViewController when all the buttons have been tapped
     // and the app is reset.
     self.resetMe()
}
When the user taps a button the image of the button is changed to that of the mystery object. The following function implements that and also sets the beenTapped boolean to true, preventing another tap on the same button.
func showImage() {
     self.setBackgroundImage(UIImage(named: self.imageName), forState: UIControlState.Normal)
     self.layer.borderWidth = 0.0
     self.beenTapped = true
}
The final function in the MysteryButton class is resetMe. This function is called when the app starts or restarts after all the buttons have been selected. The function will reset the buttons variables to their default values and also generate another random surprise for the button.
func resetMe() {
    self.value = 0
    self.beenTapped = false
    self.suprise = ButtonSuprise.randomSuprise()
    self.backgroundColor = UIColor.clearColor()
    self.setBackgroundImage(UIImage(named: "button"), forState: UIControlState.Normal)

    if let thisSuprise = suprise {
        switch thisSuprise {

        case .Square:
            self.value = 10
            self.imageName = "square"

        case .Star:
            self.value = 15
            self.imageName = "star"

        case .Circle:
            self.value = 20
            self.imageName = "circle"

        case .Cake:
            self.value = 50
            self.imageName = "cake"

        }
    }
}
The ViewController
Open up the ViewController.swift file and add the following variables into the class. Enter these below class ViewController: UIViewController {
// Outlet to the score label in Interface Builder.
@IBOutlet weak var scoreLabel: UILabel!

// Outlet to the object name label in Interface Builder.
@IBOutlet weak var objectFoundLabel: UILabel!

// Variables to record the current score. How many buttons have been tapped
// and the maximum number of buttons available.
var score: Int = 0
var numberOfButtons: Int = 15
var buttonCounter: Int = 0
We have a method to follow which will update the display. We want to update the display when the app starts so let’s call that method in viewDidLoad.
override func viewDidLoad() {
    super.viewDidLoad()
    // Do any additional setup after loading the view, typically from a nib.
    // Update the display
    self.updateDisplayWithObjectText(nil)
}
And while we are here, let’s add a function to hide the status bar.
override func prefersStatusBarHidden() -> Bool {
    return true
}
We only have a few more functions to implement and then we can start on the design of the app.
We need our app to respond when a button is tapped. Add the following function to achieve this.
@IBAction func buttonTapped(sender: MysteryButton) {
    if !sender.beenTapped {
        buttonCounter++
        sender.showImage()
        score+=sender.value
        self.updateDisplayWithObjectText(sender.suprise!.basicDescription())
    }

    if buttonCounter == numberOfButtons {
        self.resetSuprises()
    }
}
This method says that if a tap comes from a MysteryButton and the button has not already been tapped then 1) increment the tap counter, 2) show the mystery image, 3) update the score and also 4) display the name of the object which we get from basicDescription supplied by the buttons enum.
In addition this method also checks if the current number of buttons tapped is equal to the total number of buttons. If it is then we reset the app and start again.
The next method to implement is an easy one. It simply updates the display with the current score and possibly the name of the last object to be found. We won’t always have a last object found, for example when the app is first run, so we use an optional value. We unwrap the optional and if there is a value we display it.
func updateDisplayWithObjectText(lastObjectFound: String?) {
    self.scoreLabel.text = "Score: \(score)"
    if let objectName = lastObjectFound {
        self.objectFoundLabel.text = objectName
    } else {
        self.objectFoundLabel.text = ""
    }
}
The final function, resetSurprises, is called when the app is reset after all the buttons have been tapped.
func resetSuprises() {
    var arrayOfButtons = [MysteryButton]()
    for subview in self.view.subviews  {
        if (subview is MysteryButton) {
            arrayOfButtons.append(subview as! MysteryButton)
        }
    }

    for button in arrayOfButtons {
        button.resetMe()
    }

    score = 0
    buttonCounter = 0
    self.updateDisplayWithObjectText(nil)
}
This function creates an array of buttons. It then looks through all of the subviews in our storyboard view, searching for objects of the MysteryButton type. When it finds one it adds it to the array.
Then it iterates through the array and calls the resetMe function for each button.
Finally it resets the score, the counter and removes the last object found text from the display.
The Interface
Open up Main.storyboard to begin designing our interface.
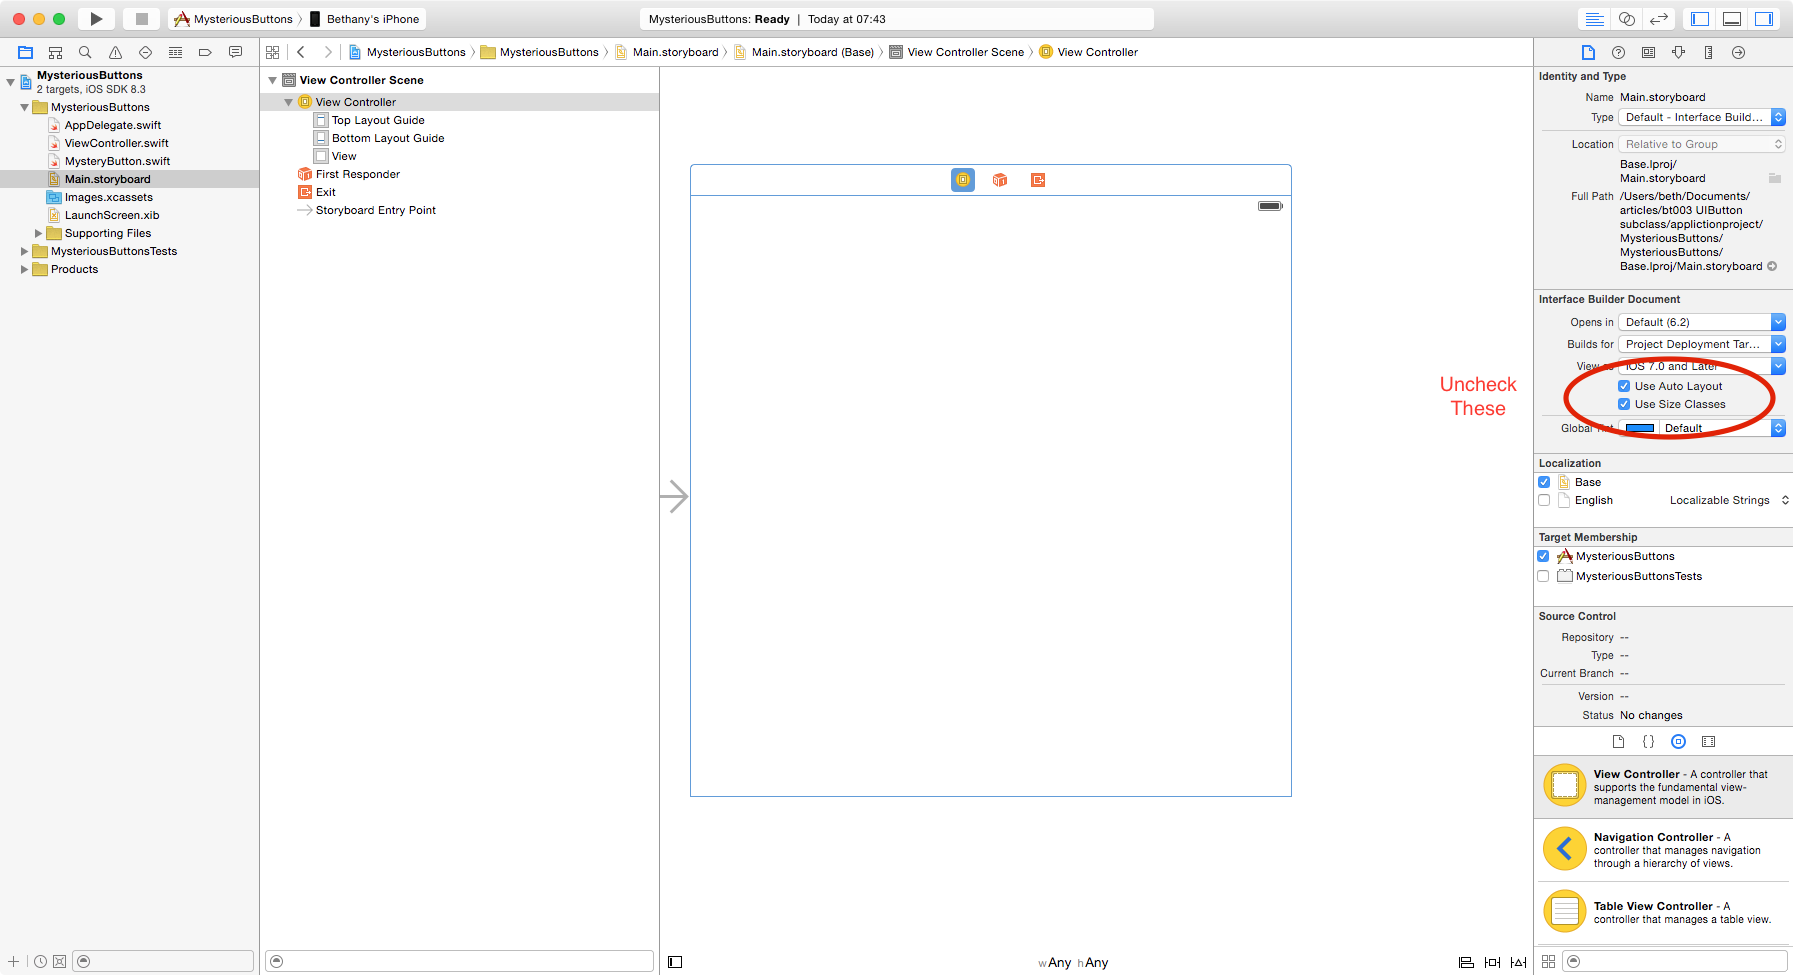
We are going to keep the interface design as simple as possible. So first we will disable Auto Layout and Size Classes. To do this select the View Controller object and from the File Inspector uncheck Use Auto Layout and Use Size Classes.
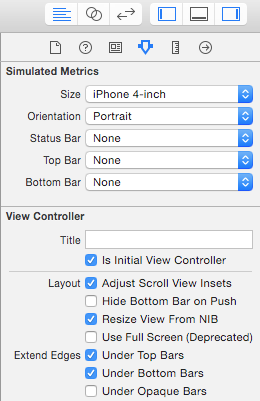
We will also keep the design limited to iPhone with 4inch displays. To do this select the Attributes Inspector and make the following changes to Simulated Metrics.
- Size: iPhone 4-inch
- Orientation: Portrait
- Status Bar, Top Bar and Bottom Bar set to None.
Simulated Metrics does not affect how the interface will appear on an actual device, it will simple allow us to quickly layout the interface design. In a full app you would need to put in more work here but for this tutorial using the Simulated Metrics is enough.
Background And Buttons
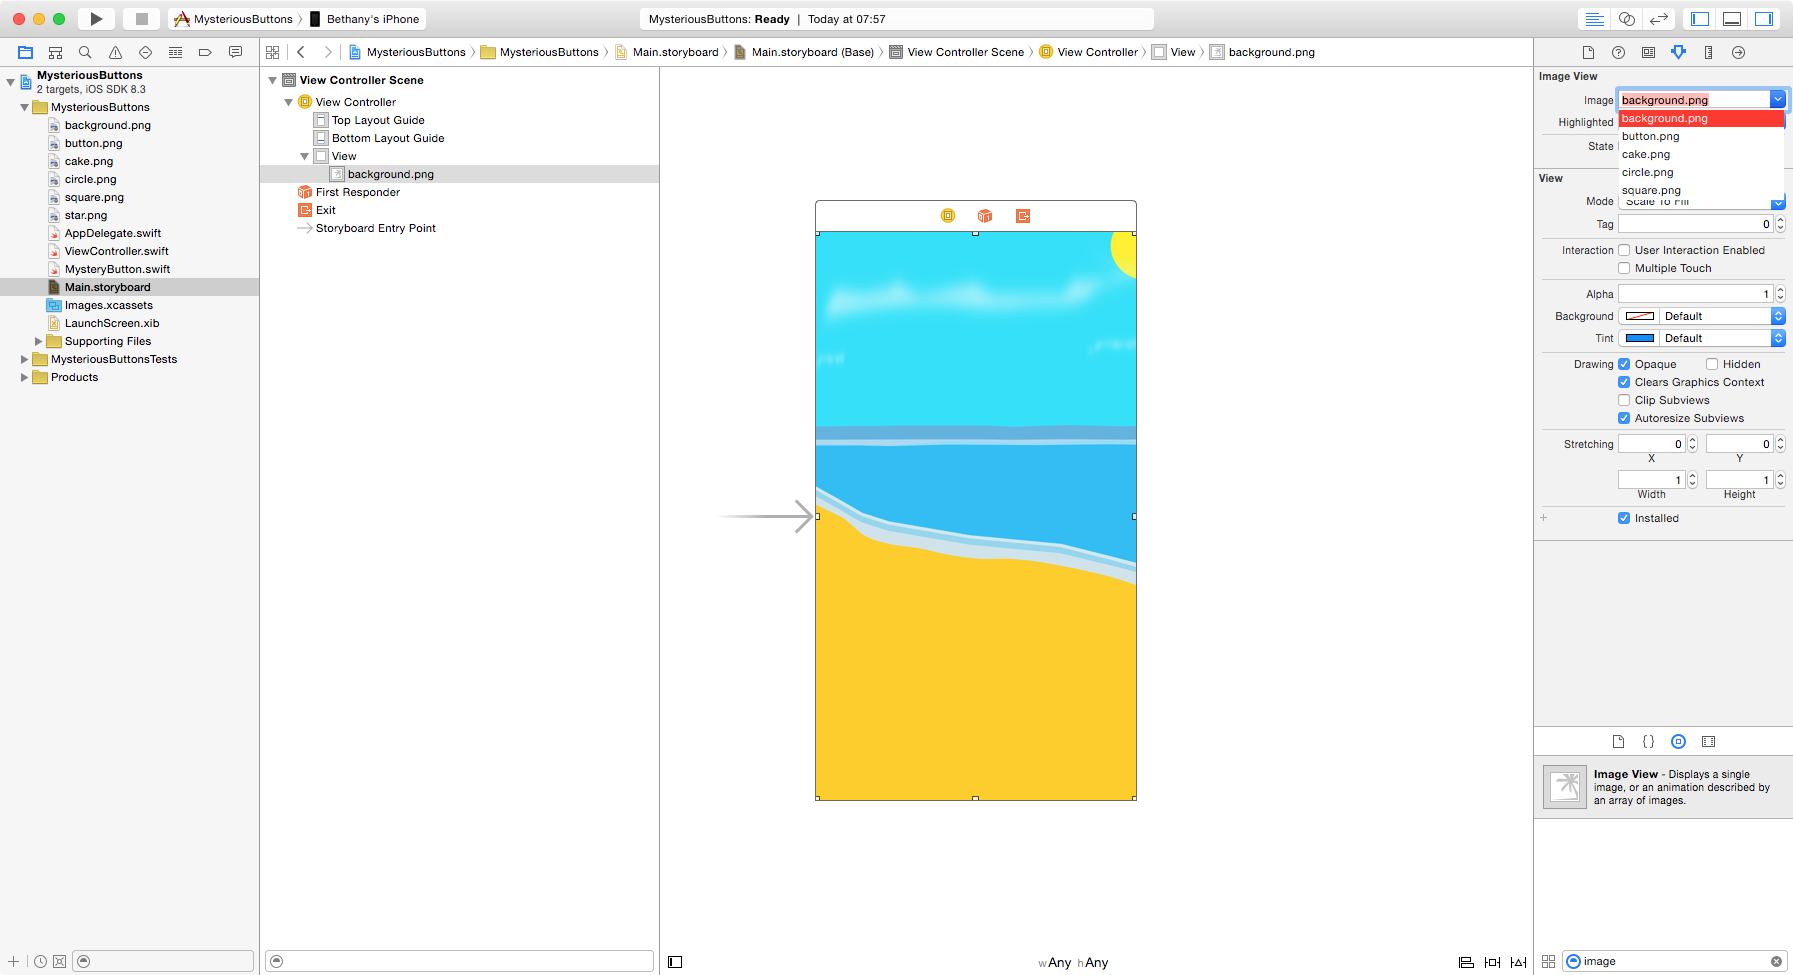
Drag an Image View from the Object Library to the View. Ensure it is centred and fills the view. In the Attributes Inspector find Image View and from the drop down select background.png.
Next drag a Button from the Object Library onto the View. From the Size Inspector set the width and height of the button to 80.
From the Attributes Inspector delete the Title so it is blank. Give the button a background colour. This is just to make it easier for us to see the size and position of the buttons. Our code will remove the colour and use an image instead.
Now we need to ensure that our button knows that it’s a MysteryButton and not a regular UIButton. Open the Identity Inspector and from Custom Class type MysteryButton as the Class.
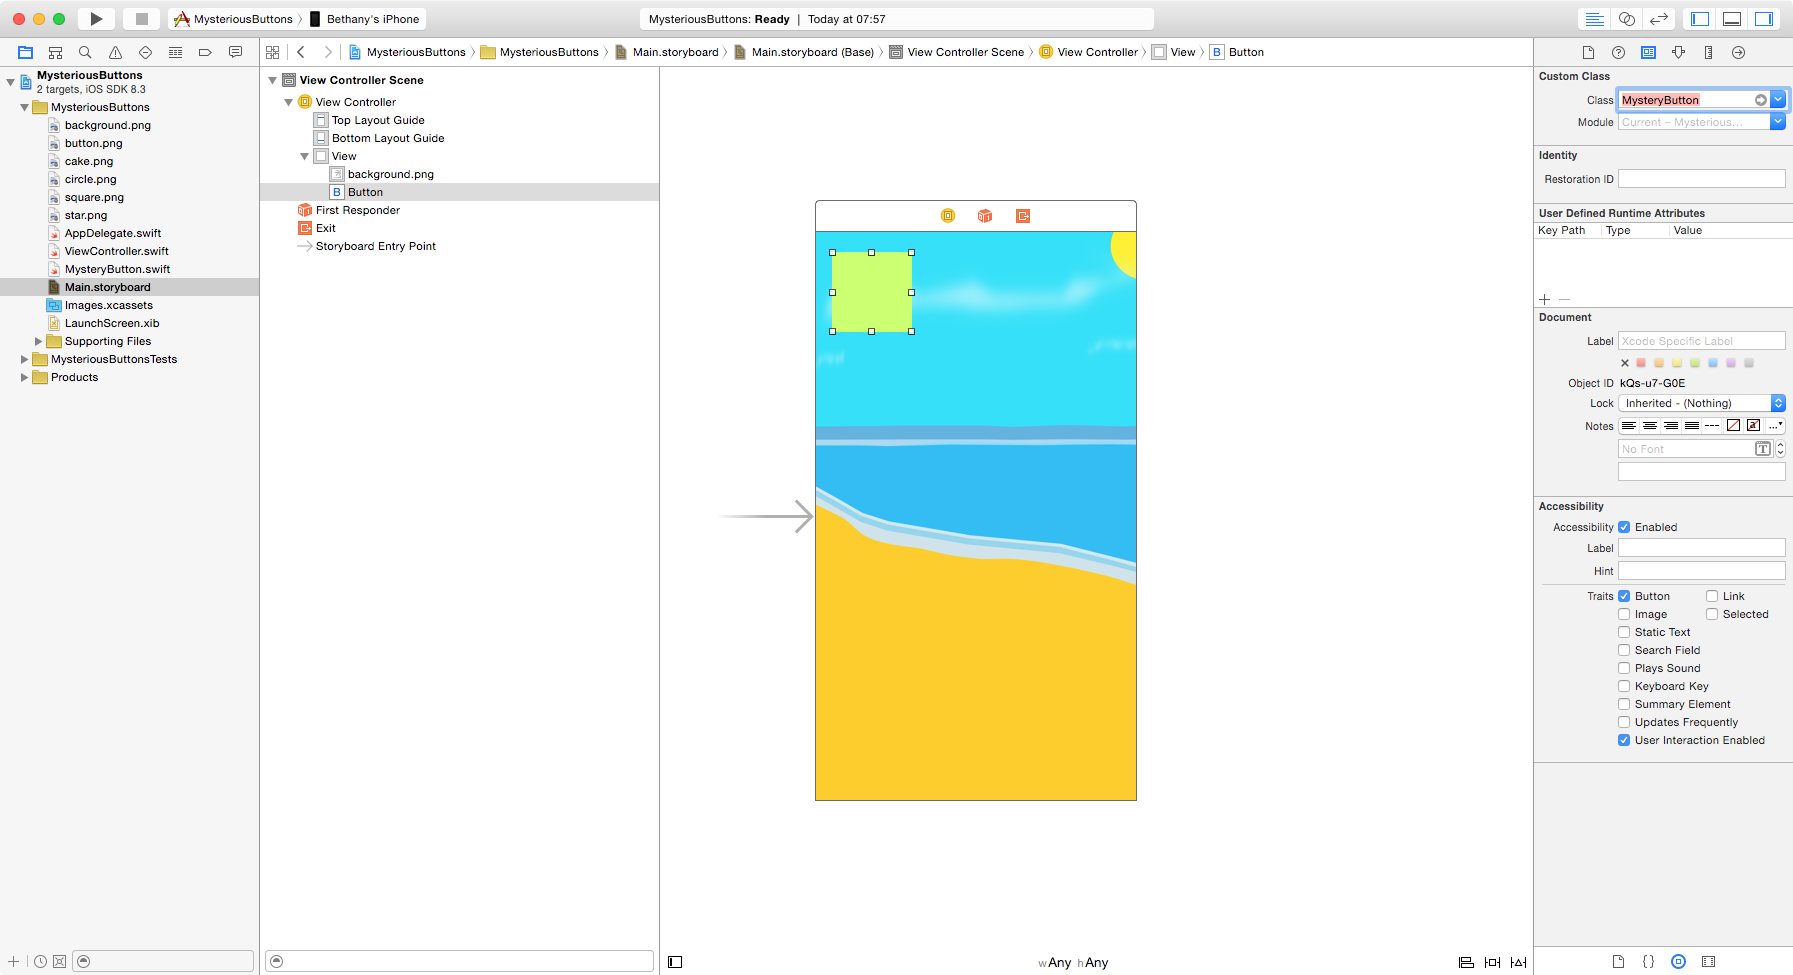
Finally we need to instruct our button to perform some code when the user taps on it. To do this open the Connections Inspector and drag from Touch Up Inside to the View Controller object and choose buttonTapped: from the popup.
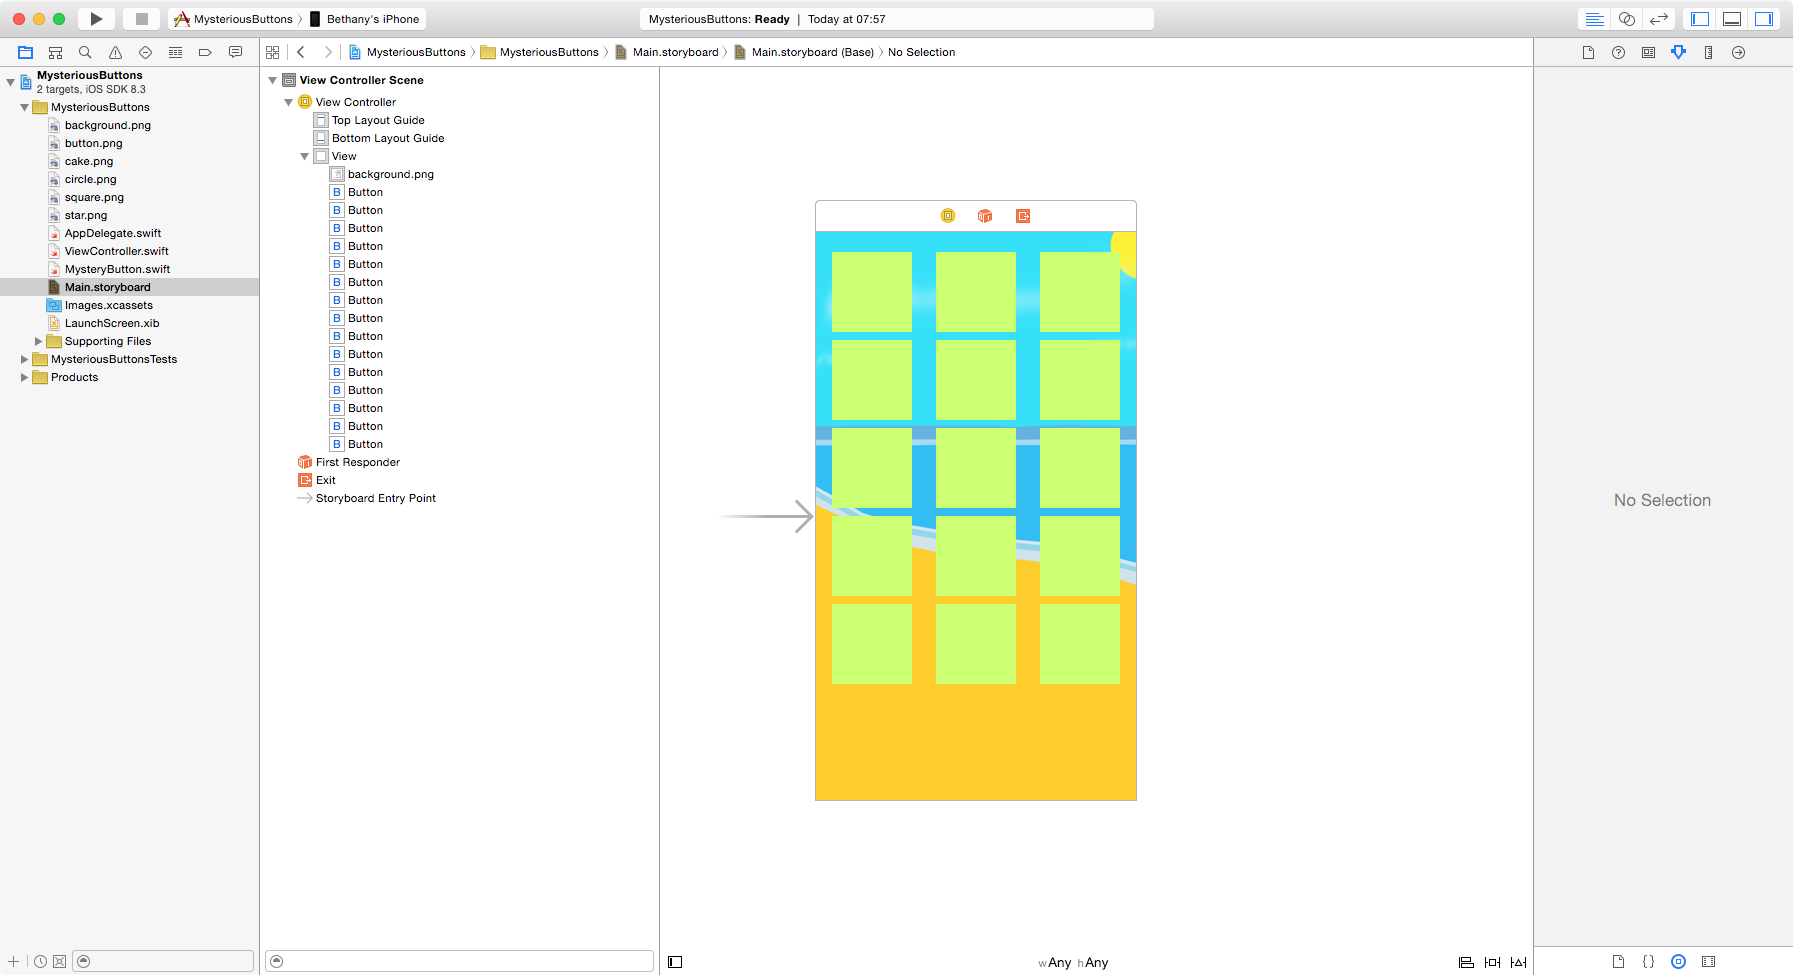
Now we have one completed MysteryButton. We need fifteen buttons in total so select the button and press cmd-D to duplicate it and position it. Keep doing this until you have fifteen buttons positioned on screen. Here’s my example.
Labels
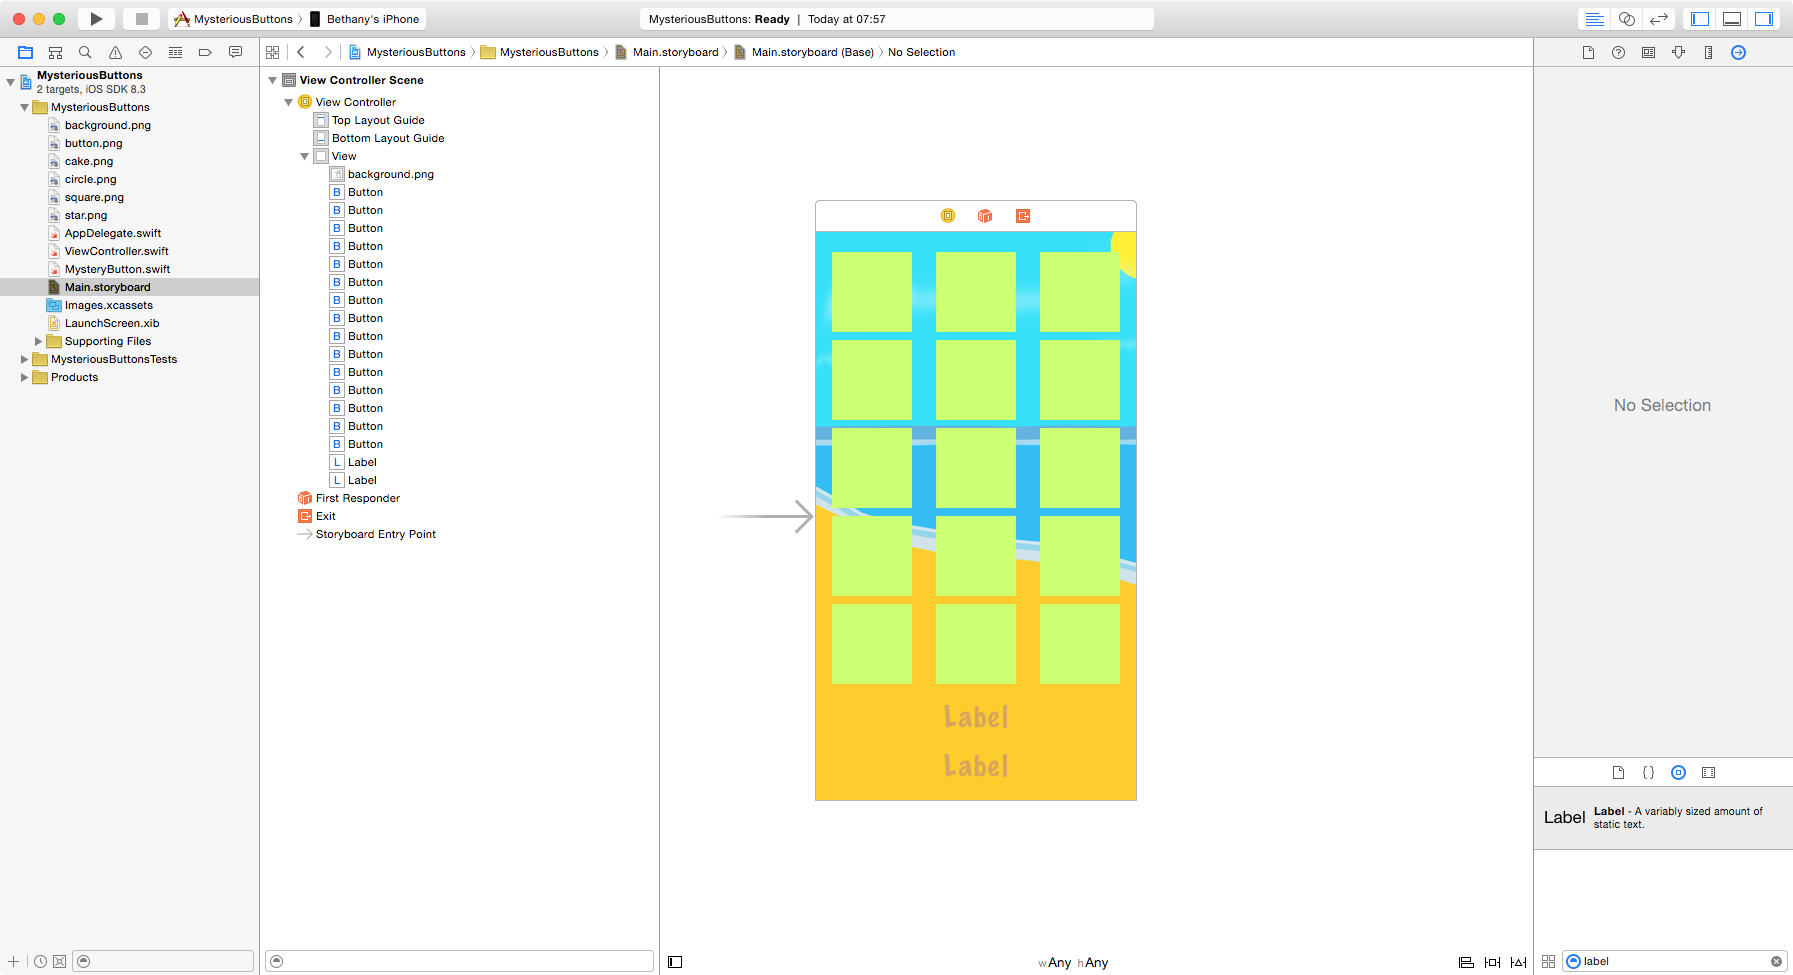
We need two labels. One for the score and one to show the last mystery object found. Drag a UILabel onto the view and position it just below the last row of buttons. You can set the font and size however you prefer. I set mine to a brown colour with 30pt marker felt font which is centred.
From the Connections Inspector drag from New Reference Outlet to the View Controller object and select scoreLabel from the popup. This connection will allow our code to update the contents of the label.
Make one more label similar to the previous one and position it just below the score label. Drag its New Referencing Outlet to the View Controller and select objectFoundLabel from the popup.
Your finished design should look similar to this.
Run The App!
Now you should be able to run the app. You will be able to tap each button to see what mystery object is hidden there. The MysteryButton subclass will determine its own hidden object when the app first runs or is reset. And it will do this everytime, making a random object.
The connection we made from the buttons to the buttonTapped function passes the MysteryButton as its sender. Because of this our program knows which button was tapped and can then instruct the button to change its image and change its beenTapped boolean value.
You can use this functionality to make your buttons very clever. They can store data and implement functions and extensions. For example, you could have a button that played a sound depending on the hidden object.
Subclassing UIButton is very useful because as it is already a button you do not need to program any touch events but with subclassing you can add additional functionality to your buttons.
If you like you can download the completed Xcode project for this tutorial.
Hope you found this tutorial interesting. I used the same basis for subclassed UIButtons in my kids game “Can You Find?“
Beth