Adaptive UITableView Cells
This tutorial will show you the method I use to make an UITableViewCell with an adaptive height.
The article assumes you have a little experience with adaptive layout, Swift and custom classes.
Here’s the process I use. You can also download a copy of the project which contains the example used here as well as the additional constraints for iPad and iPhone in landscape orientation.
Create a new single view application
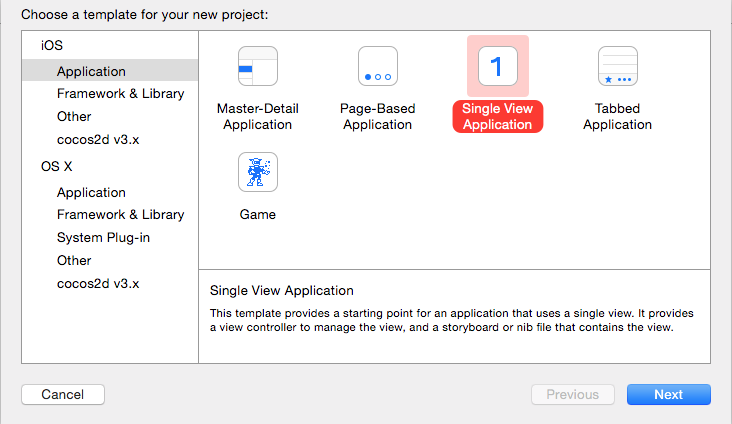
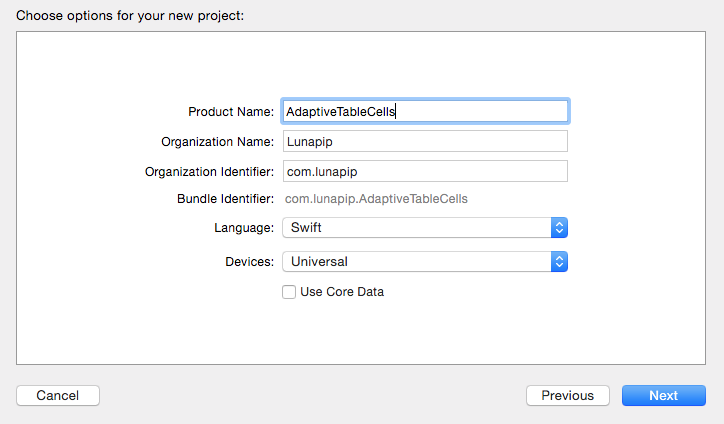
Set the language to Swift and device to Universal.
Open the ViewController.swift class
Make the class conform to the UITableView protocols UITableViewDelegate and UITableViewDataSource.
Set an Interface Builder outlet property to the custom table.
The table needs to have estimatedRowHeight property and also the rowHeight property needs to be set to UITableViewAutomaticDimension. Put these somewhere useful like the viewDidAppear method as below:
override func viewDidAppear(animated: Bool) {
    self.myTableView.estimatedRowHeight = 60.0
    self.myTableView.rowHeight = UITableViewAutomaticDimension
    self.myTableView.reloadData()
}
Next, implement some basic table methods to get the table working correctly:
func tableView(tableView: UITableView, numberOfRowsInSection section: Int) -> Int {
    return 5
}

func tableView(tableView: UITableView, cellForRowAtIndexPath indexPath: NSIndexPath) -> UITableViewCell {
    let cell = tableView.dequeueReusableCellWithIdentifier("Cell", forIndexPath: indexPath) as! CustomTableViewCell
    let image = UIImage(named: "logo")
    cell.myImageView.image = image
    return cell
}

func numberOfSectionsInTableView(tableView: UITableView) -> Int {
    return 1
}
Subclass UITableViewCell
Now we need to create a custom table view cell. So click the File menu and select New -> File.
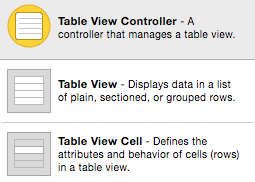
Create a new Cocoa Touch Class
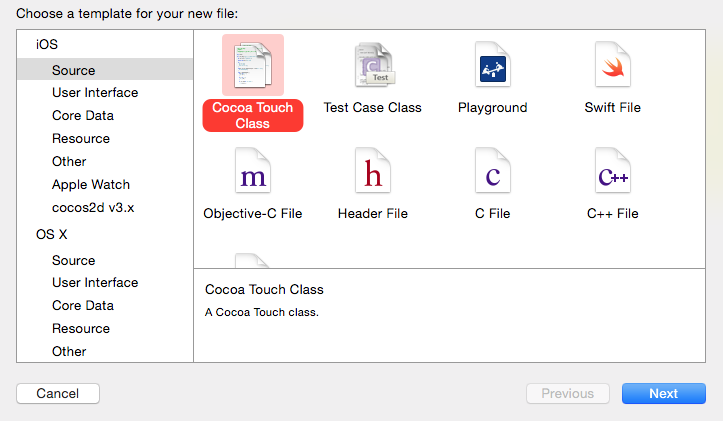
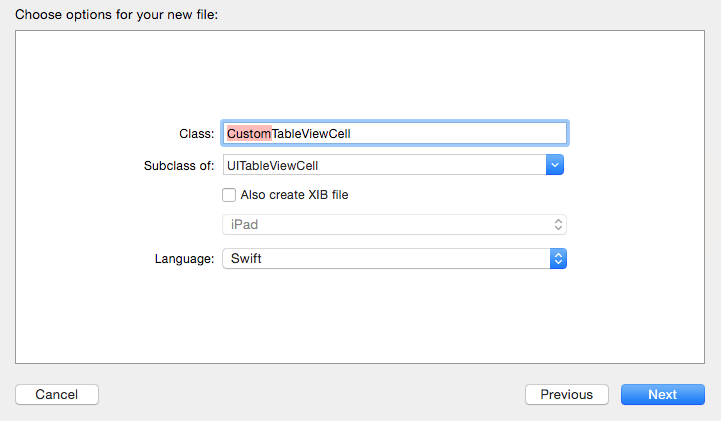
Give the new class a name such as CustomTableViewCell. Make it a subclass of UITableViewCell and set the language to Swift. Do not create a XIB file. Click Next and create the class.
Add a property to the new class to connect to an image view that we will create shortly. Your cell subclass should look similar to this:
import UIKit

class CustomTableViewCell: UITableViewCell {
    @IBOutlet weak var myImageView: UIImageView!

    override func awakeFromNib() {
        super.awakeFromNib()
        // Initialization code
    }

    required init(coder aDecoder: NSCoder) {
        super.init(coder: aDecoder)
    }

    override init(style: UITableViewCellStyle, reuseIdentifier: String!) {
        super.init(style: style, reuseIdentifier: reuseIdentifier)
    }

    override func setSelected(selected: Bool, animated: Bool) {
        super.setSelected(selected, animated: animated)
        // Configure the view for the selected state
    }

}
Interface Builder
Now we move to Interface Builder, so load up the Main.storyboard file.
Add a new UITableView to the main view.
Give the table some constraints to make it use most of the screen.
These are the constraints that I have used.
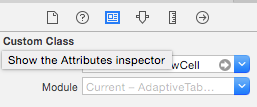
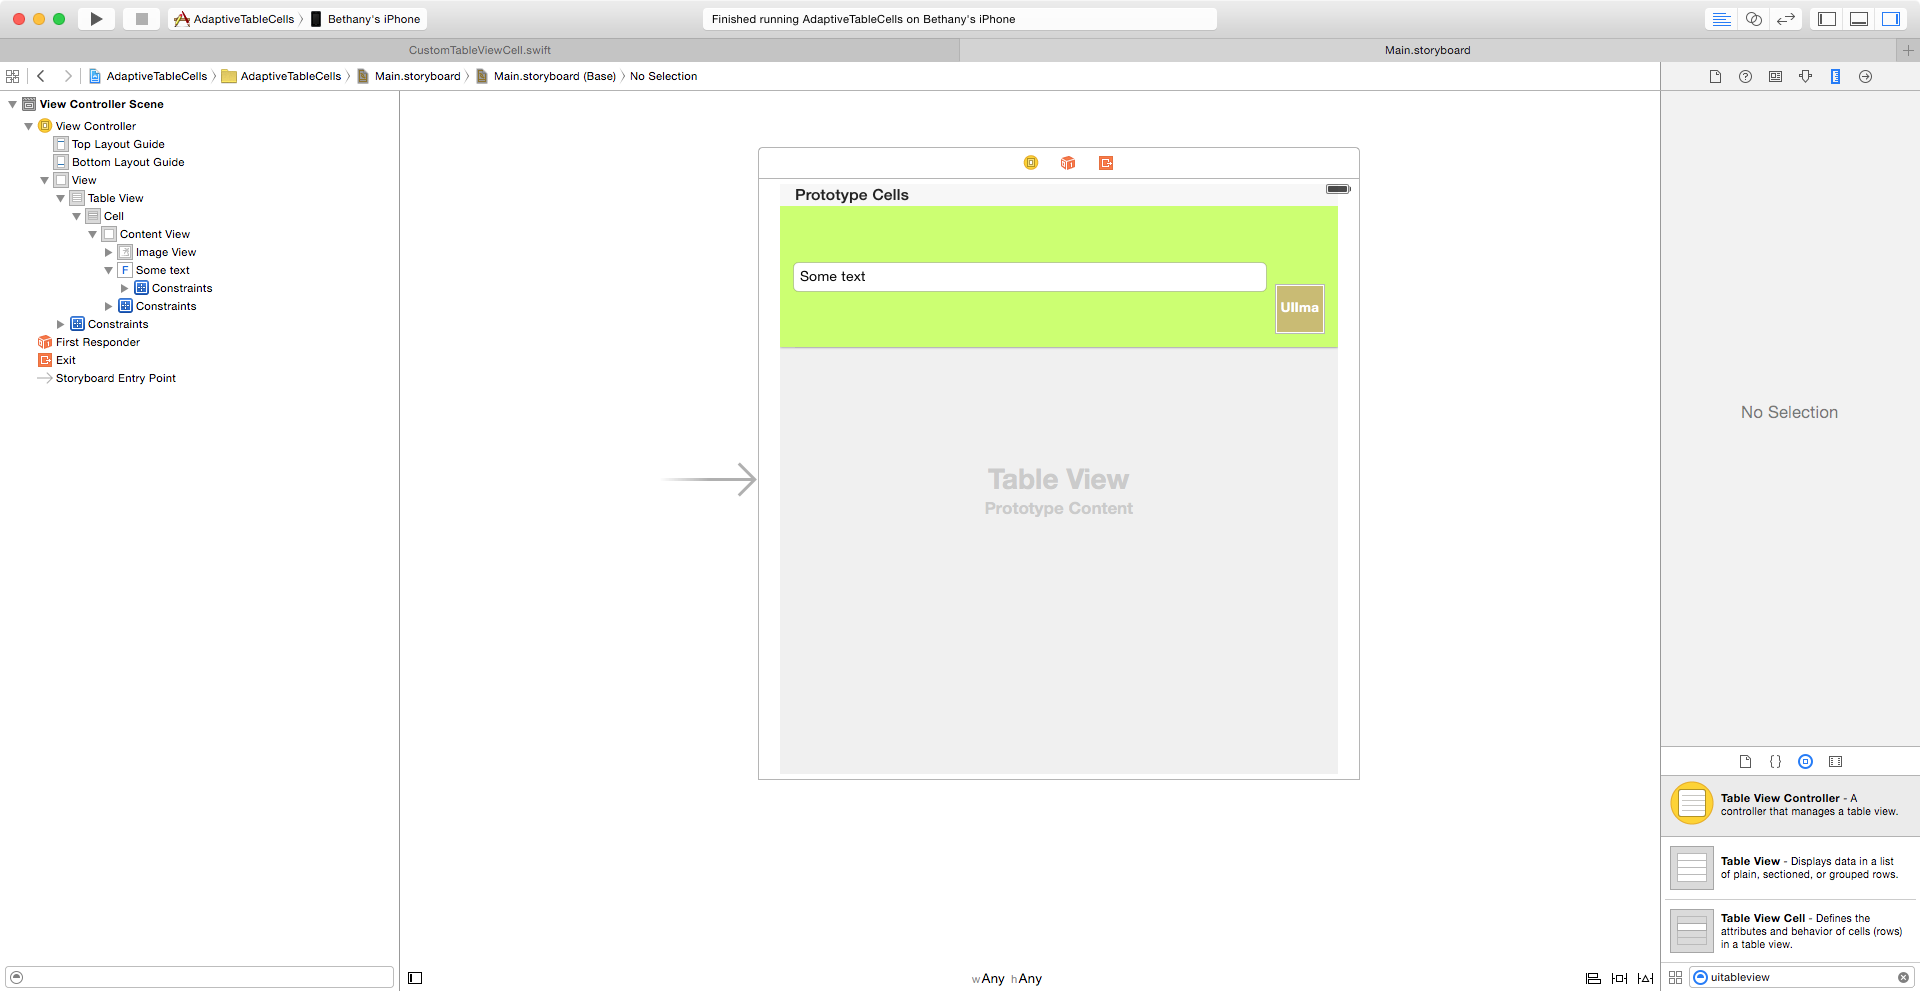
In the identity inspector change the custom class to same name as your custom cell class, in this example it is CustomTableCellView.
Give the cell’s content view a background colour to make it easier to see how things are laying out.
Next add a UITextField and UIImageView to the cell.
Using the Assistant Editor, connect table to the table property in ViewController and connect the image view to the image property in CustomTableViewCell.
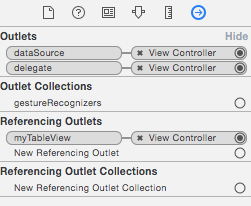
Now connect the table view dataSource and delegate outlets to ViewController.
Setting Up The Constraints
You can position the text field and image any way you like, my example is shown below. Make sure your size class is set to wAny and hAny to begin with.
Now we need to add constraints. In my example I initially want the image view to be equal to 50 points wide and 50 points high. Then I will be able to change this for different devices and orientations based on the class.
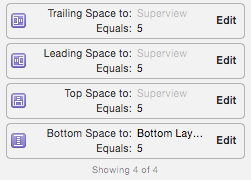
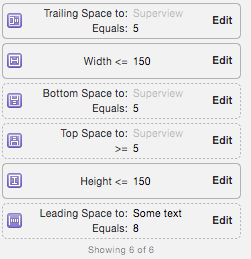
Here are my constraints for the image view:
- Trailing space to superview equals 5
- Bottom space to superview equals 5 with a priority of High
- Top space to superview equals 5 with a priority of High
- Leading space to the text field equals 8
- The width and height constraints are set to less than or equal to 50
The constraints for the text field are:
- Align center Y to superview
- Leading space to superview equals 5
- Width greater than or equal to 150
- Trailing space to Image View equals 8.
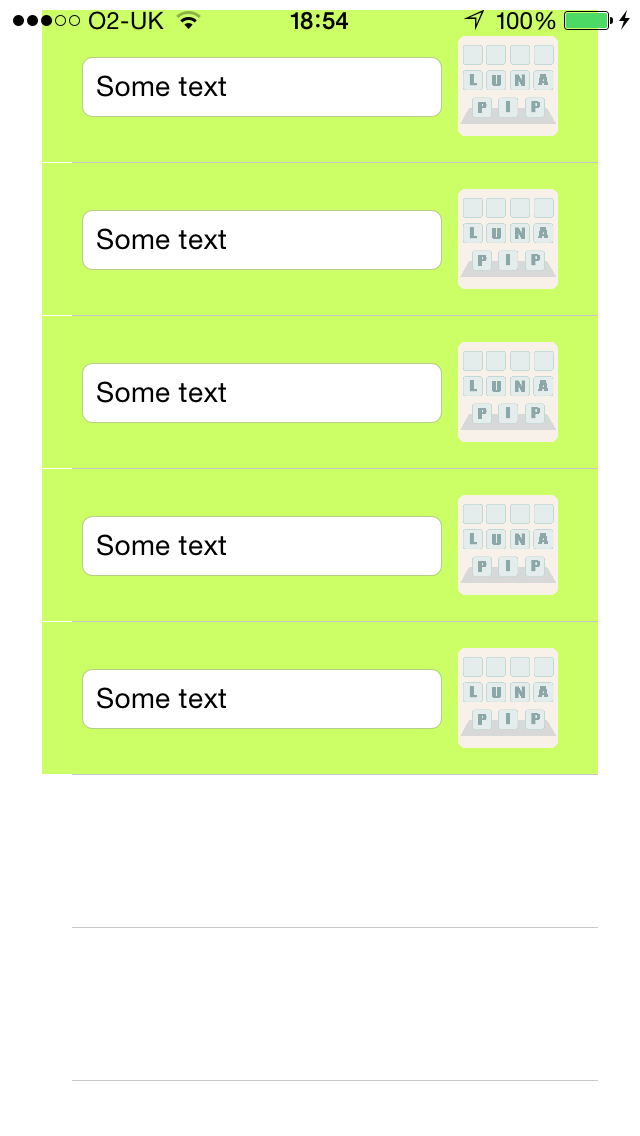
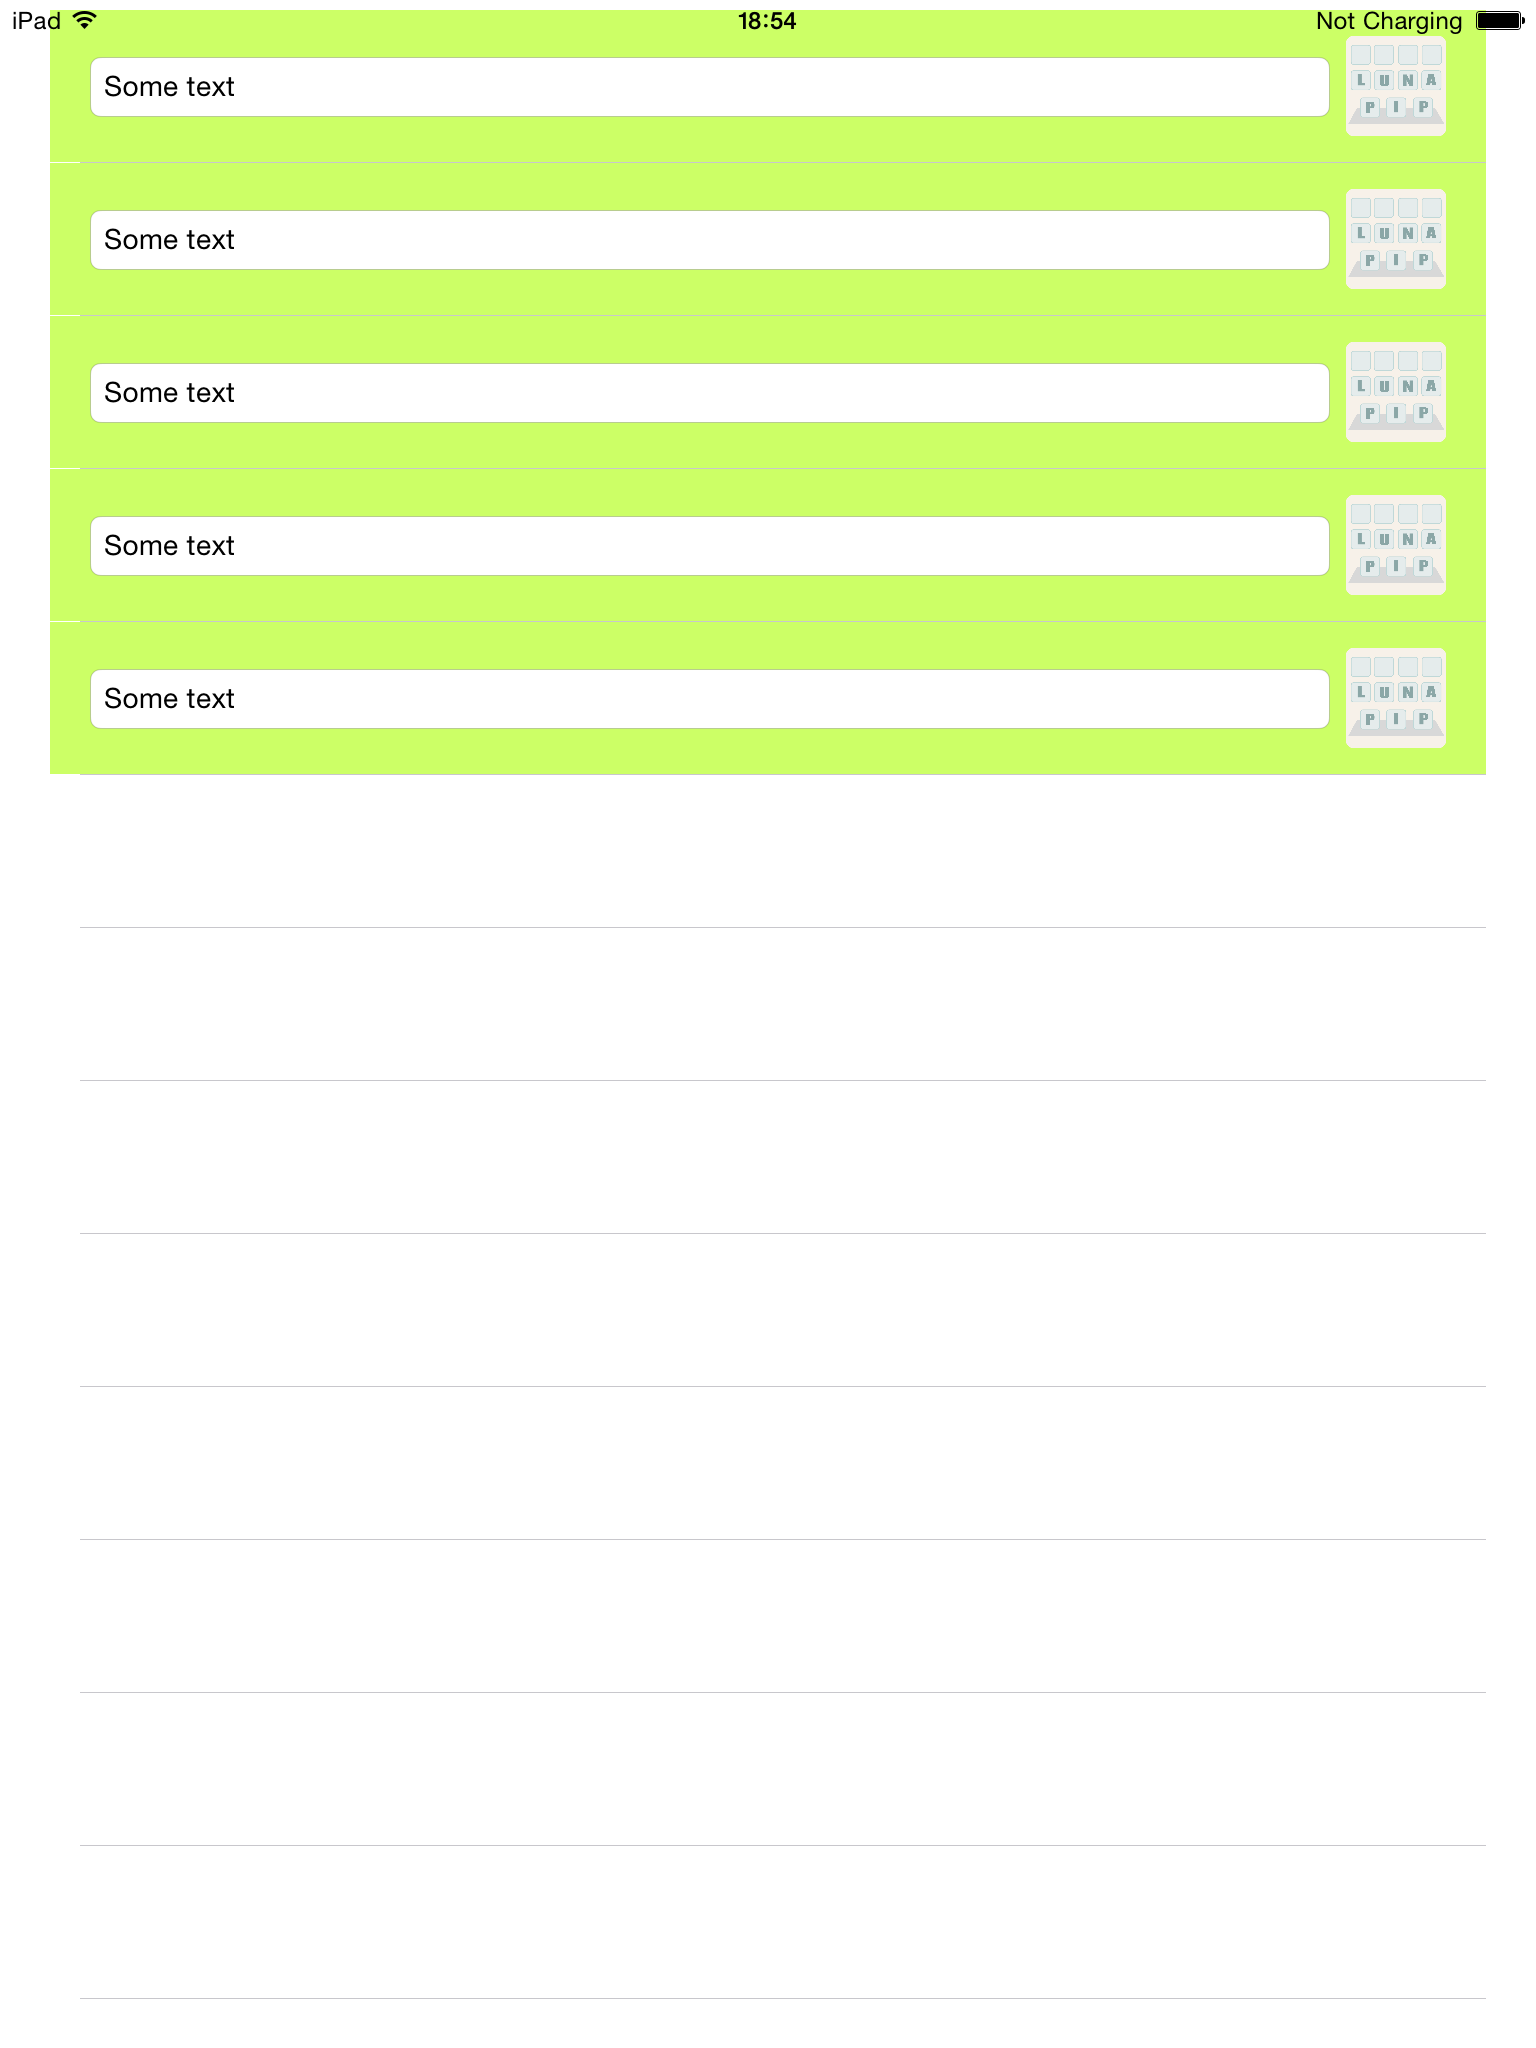
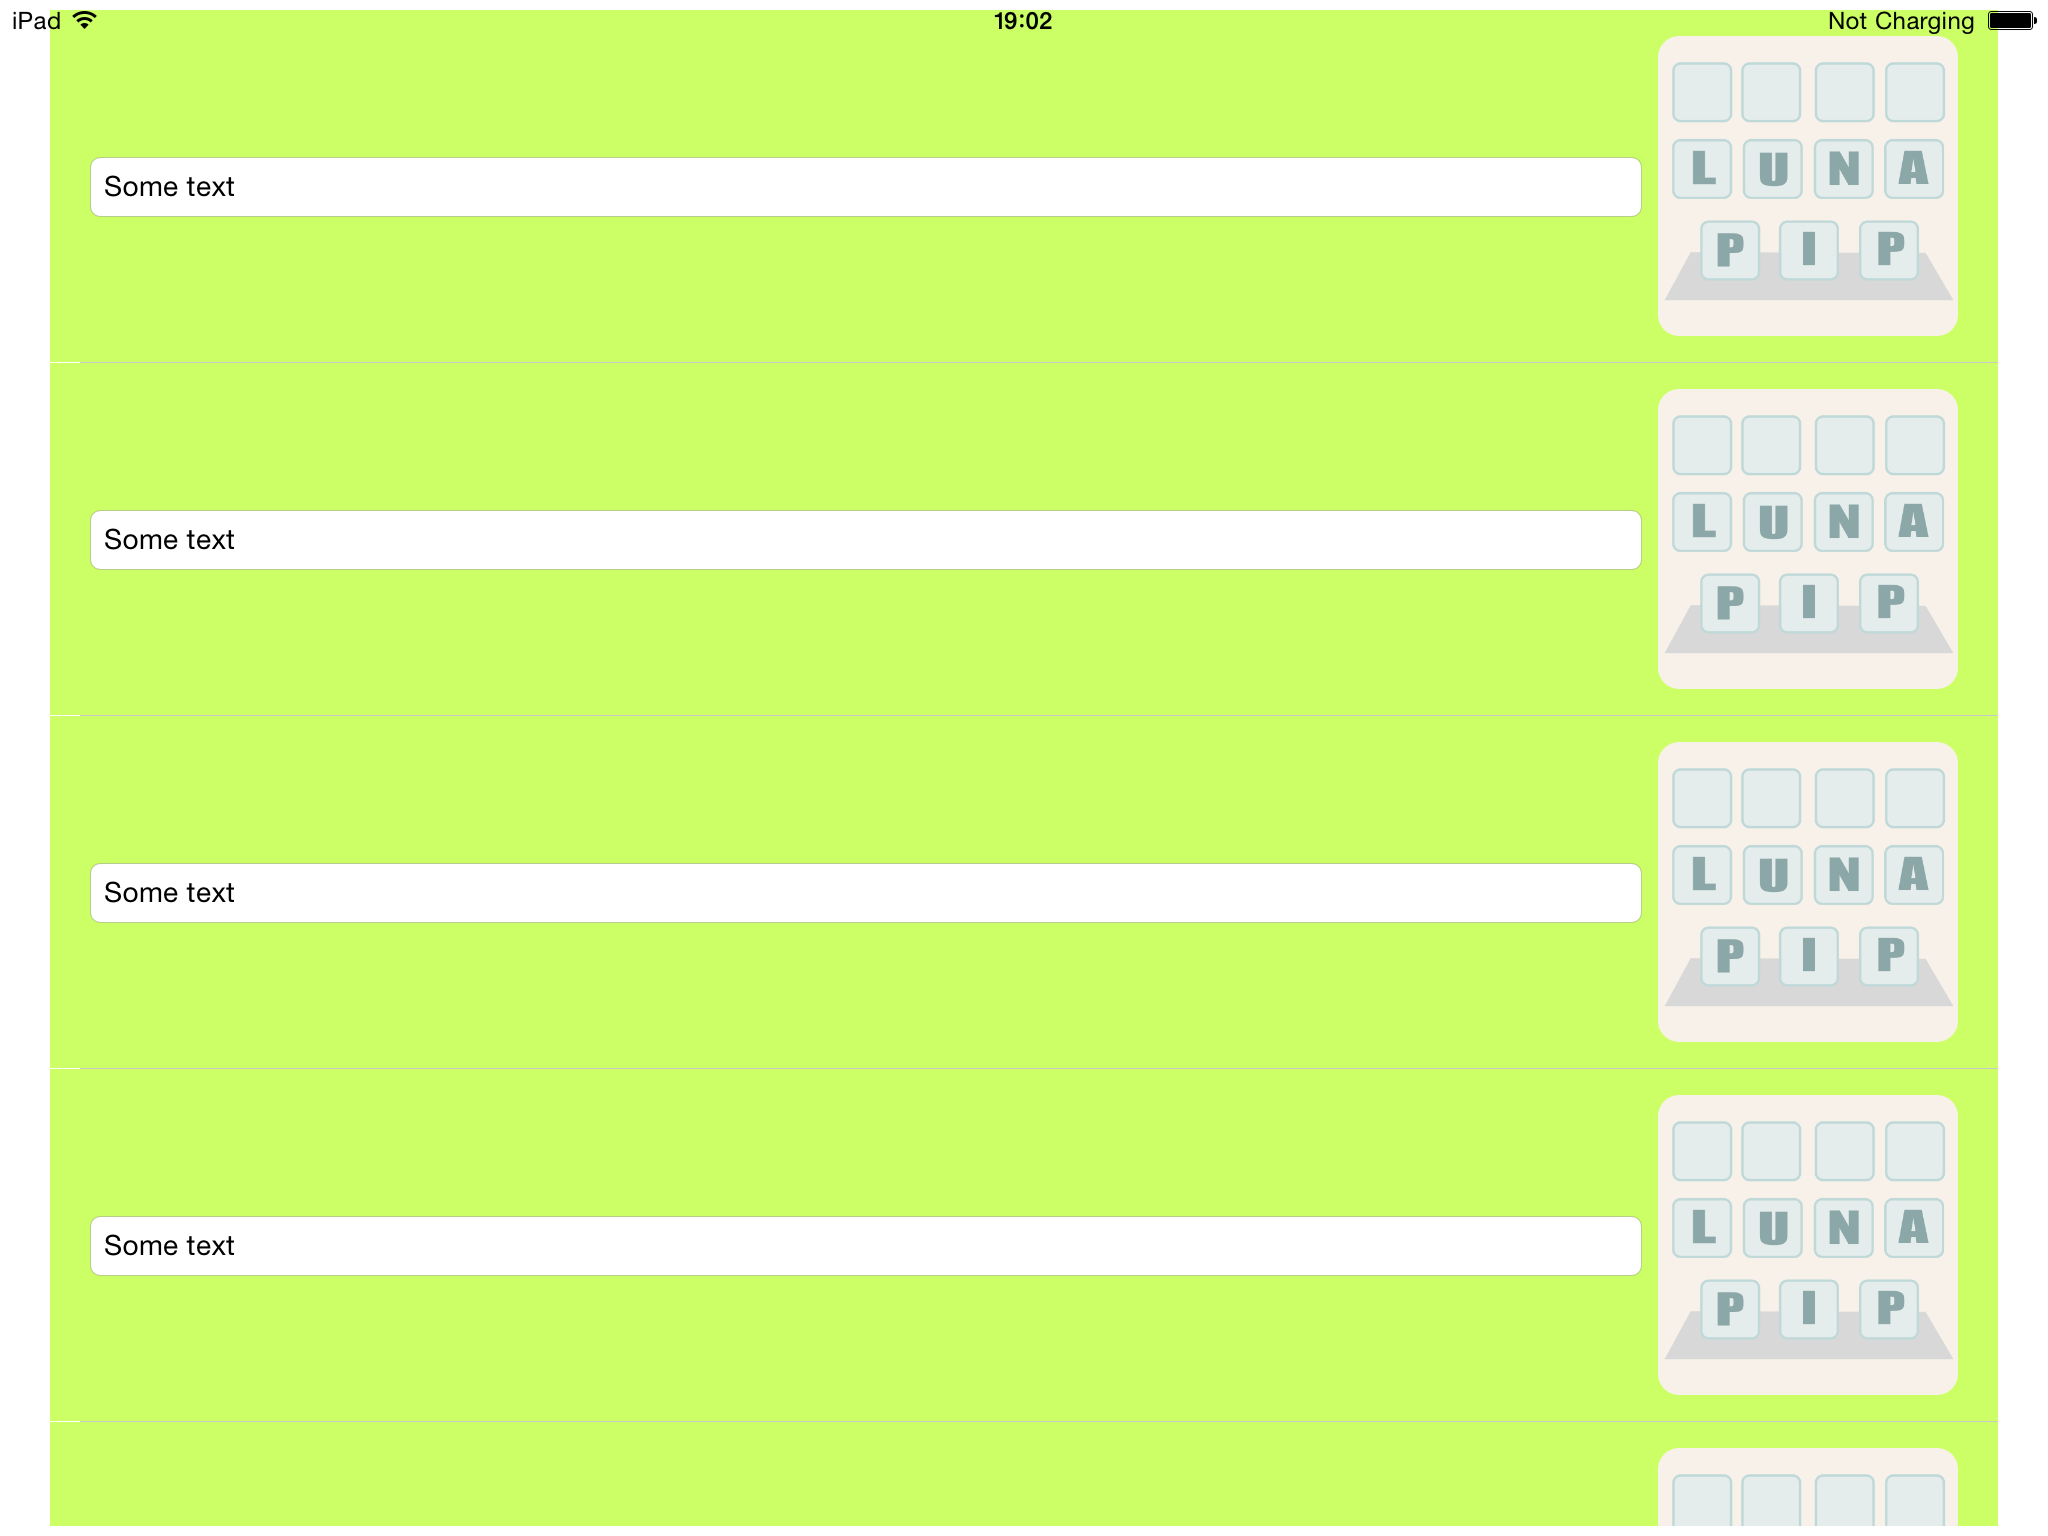
This is how the table is displayed on iPhone and iPad in portrait and landscape.
Customise The Constraints For Size Classes
Now, if you want to customise the height of the cells for different devices or different orientations, all you have do is change to the appropriate size class.
As an example, change the size class by clicking the Any Any selector at the bottom of Interface Builder. Select and choose Regular Width Regular Height.
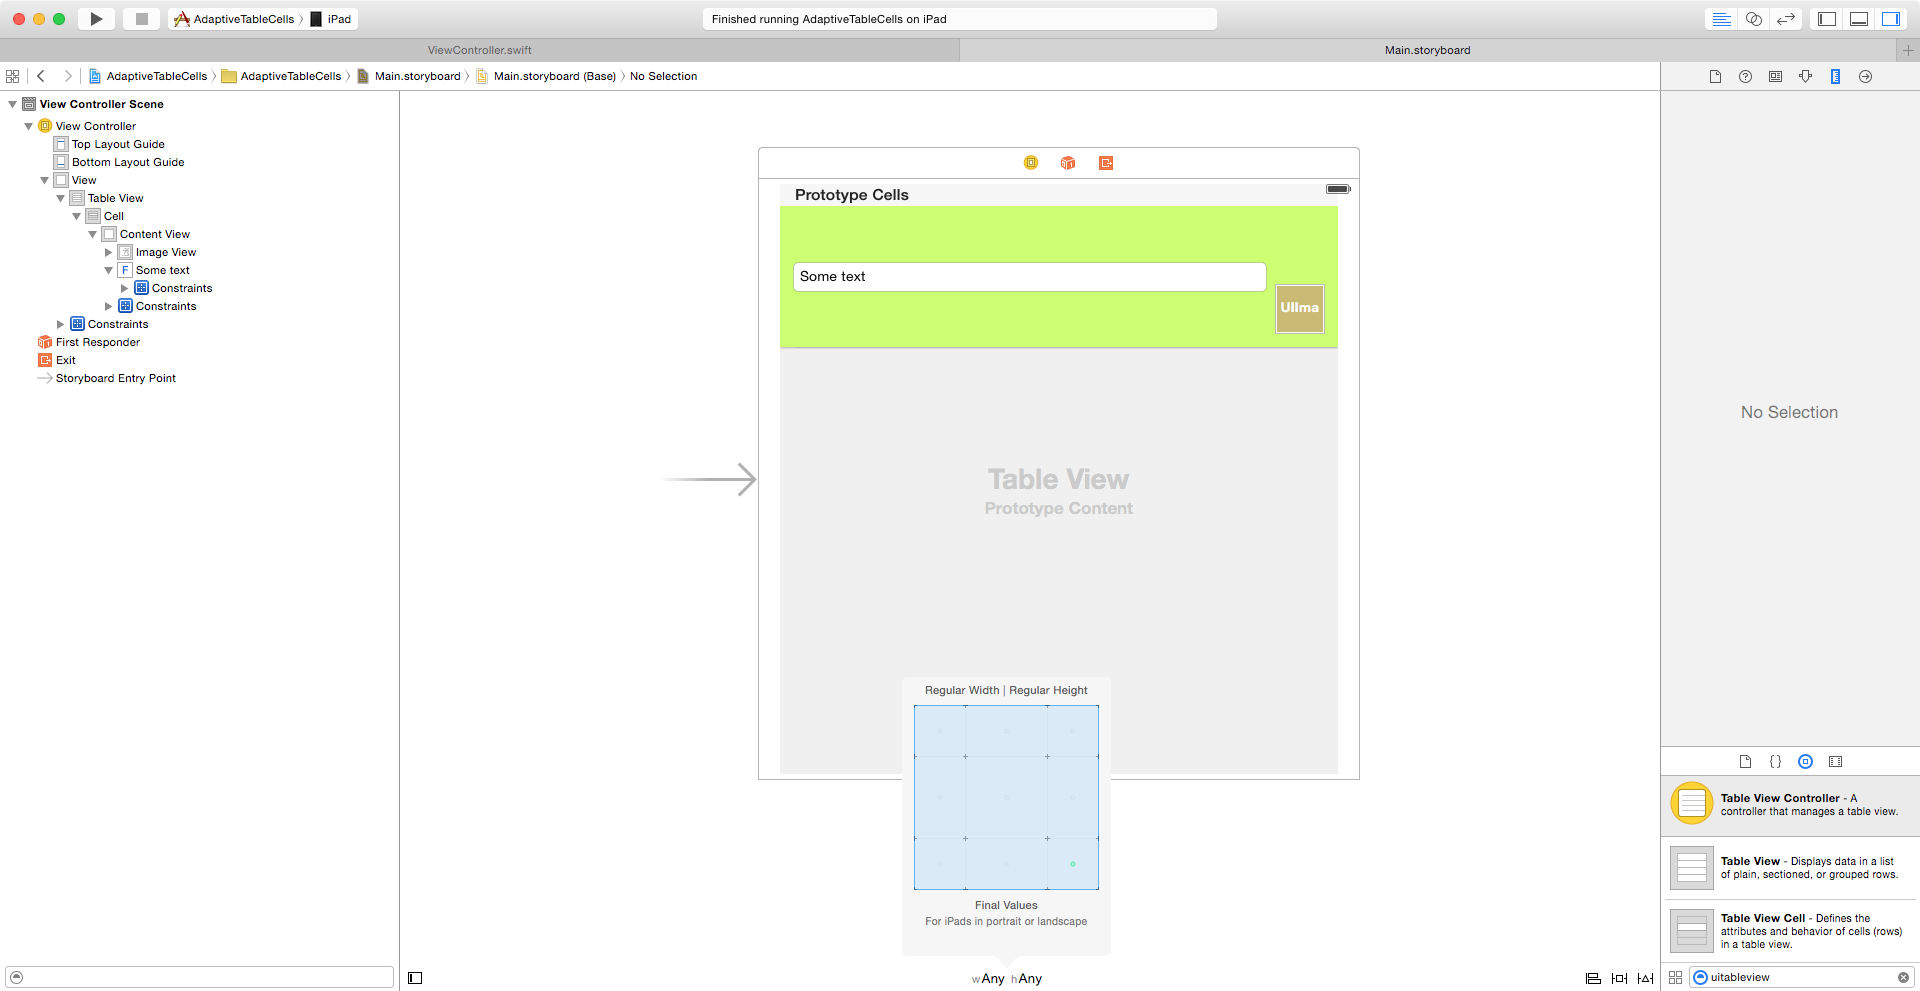
The selector will turn blue to show that you are working with a size class and not the default.
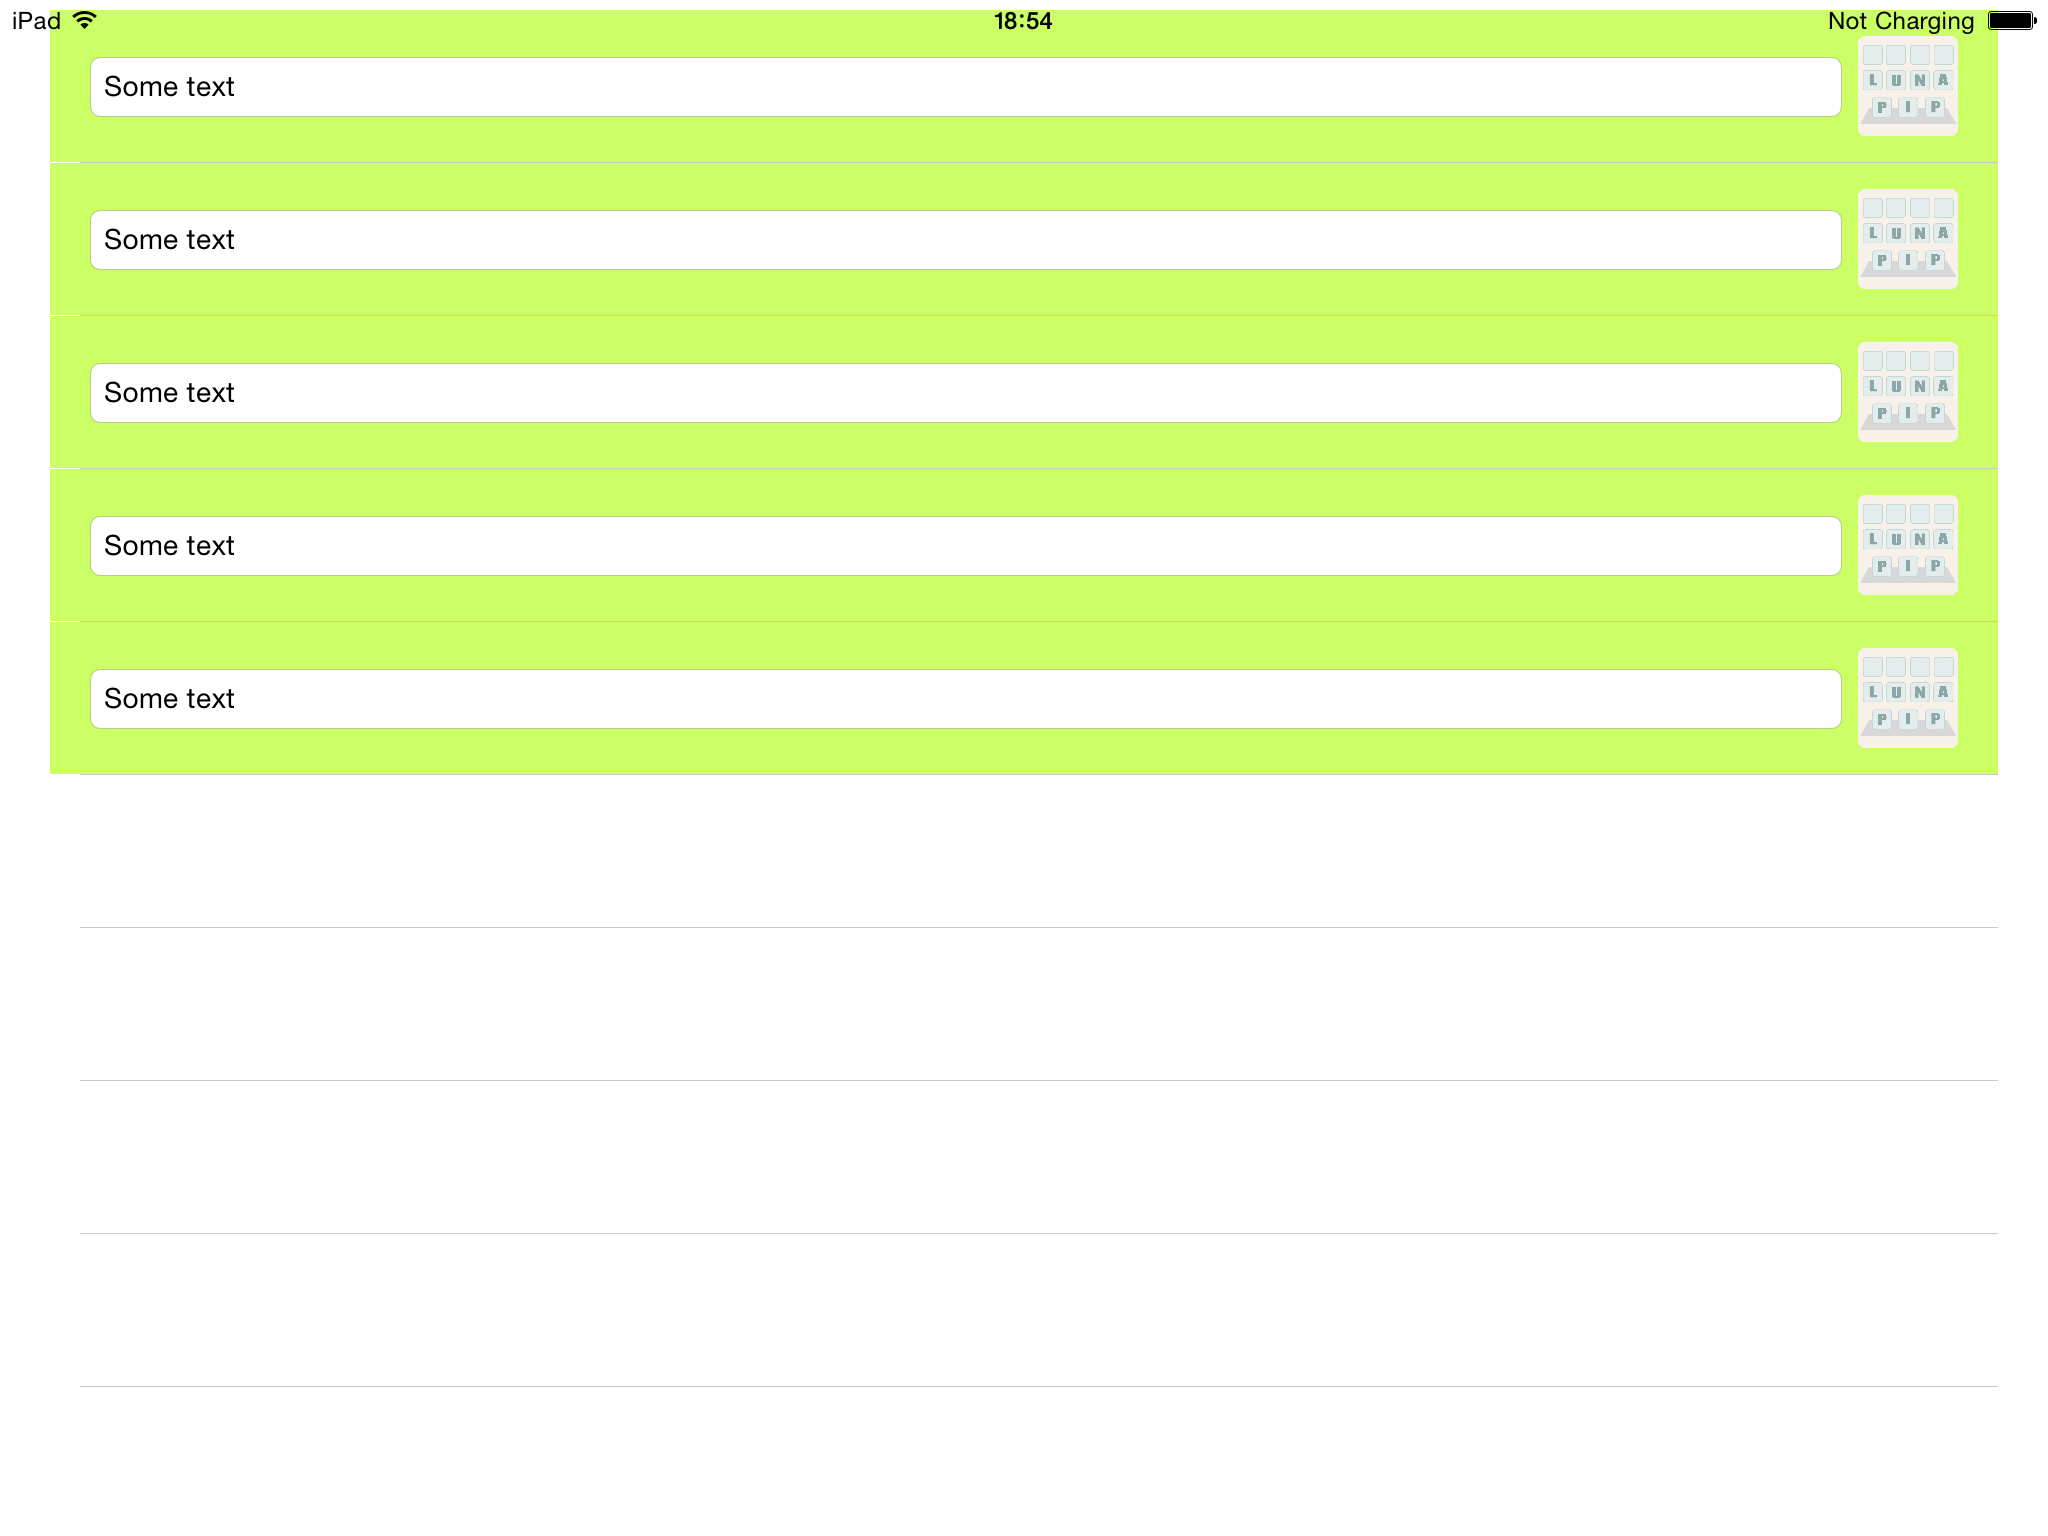
Change the width and height constraints of the image to be less than or equal to 150.
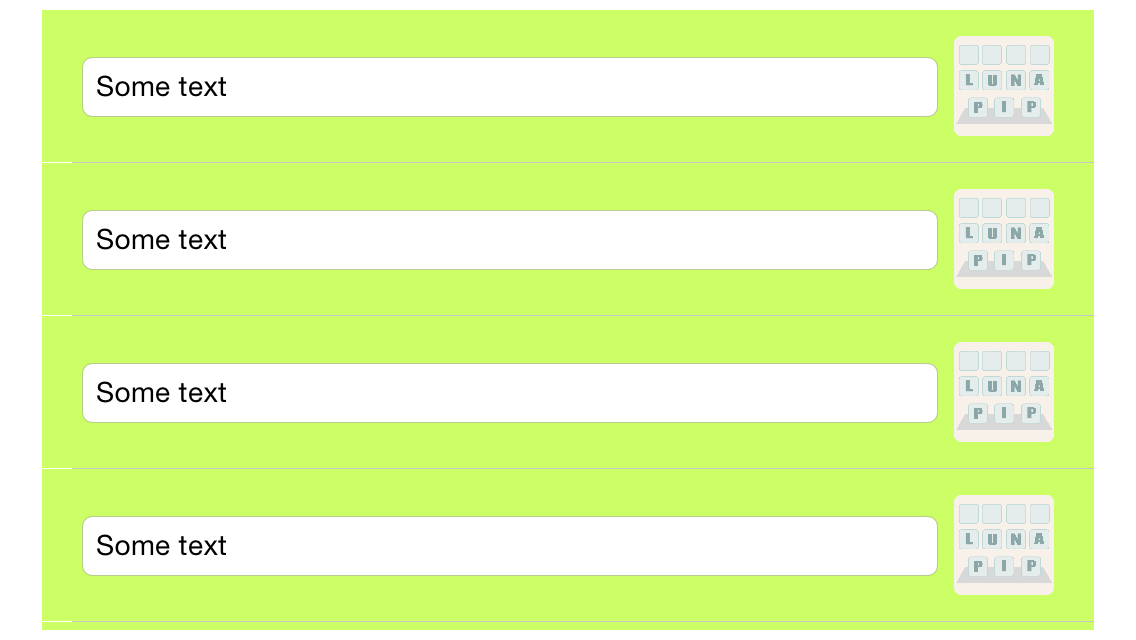
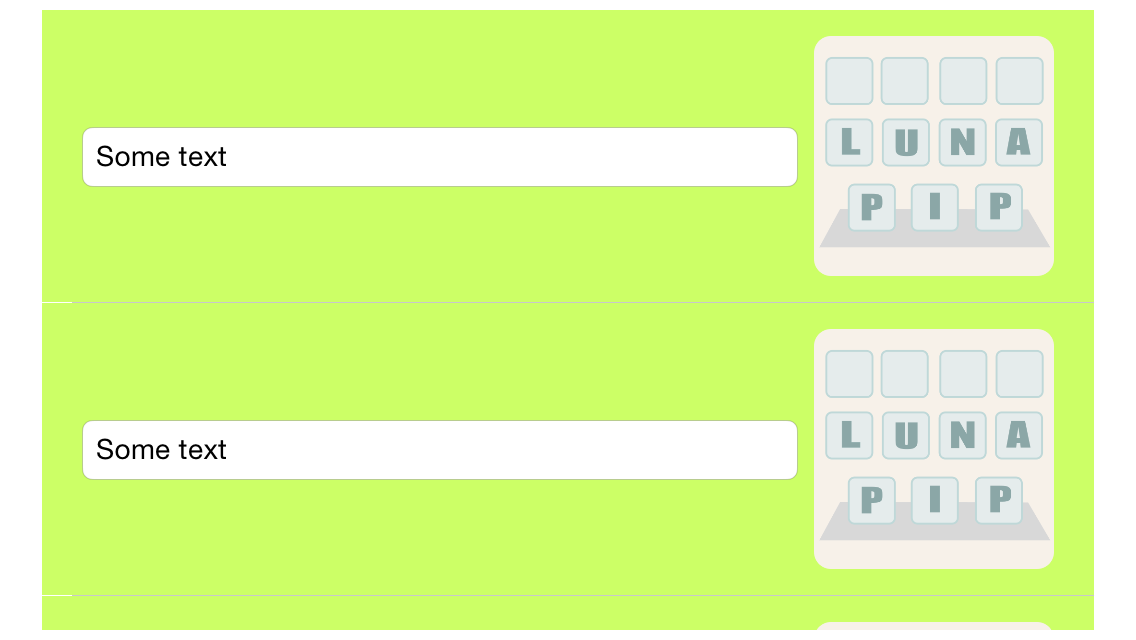
Now the iPad will display a larger image and the cell height will still be correct. An iPhone will still display the original size.
We can also use this technique for device orientation. For example we may want the image be be larger when an iPhone is in landscape mode. To do this select the size class you want to work with such as Any Width Compact Height. Set the width and height constraints to be less than or equal to 120.
Now the iPhone will show a larger image when in landscape and the cell height is still correct.
I hope you found this tutorial helpful. You can download a copy of the Xcode project.
Beth